Valve Pi Radio
A few months ago, I bought an old valve radio on ebay, with the willingness to repair it and to upgrade it. This way, I would practise both my electronics and programming skills. This project is now done and this post describe the main steps.
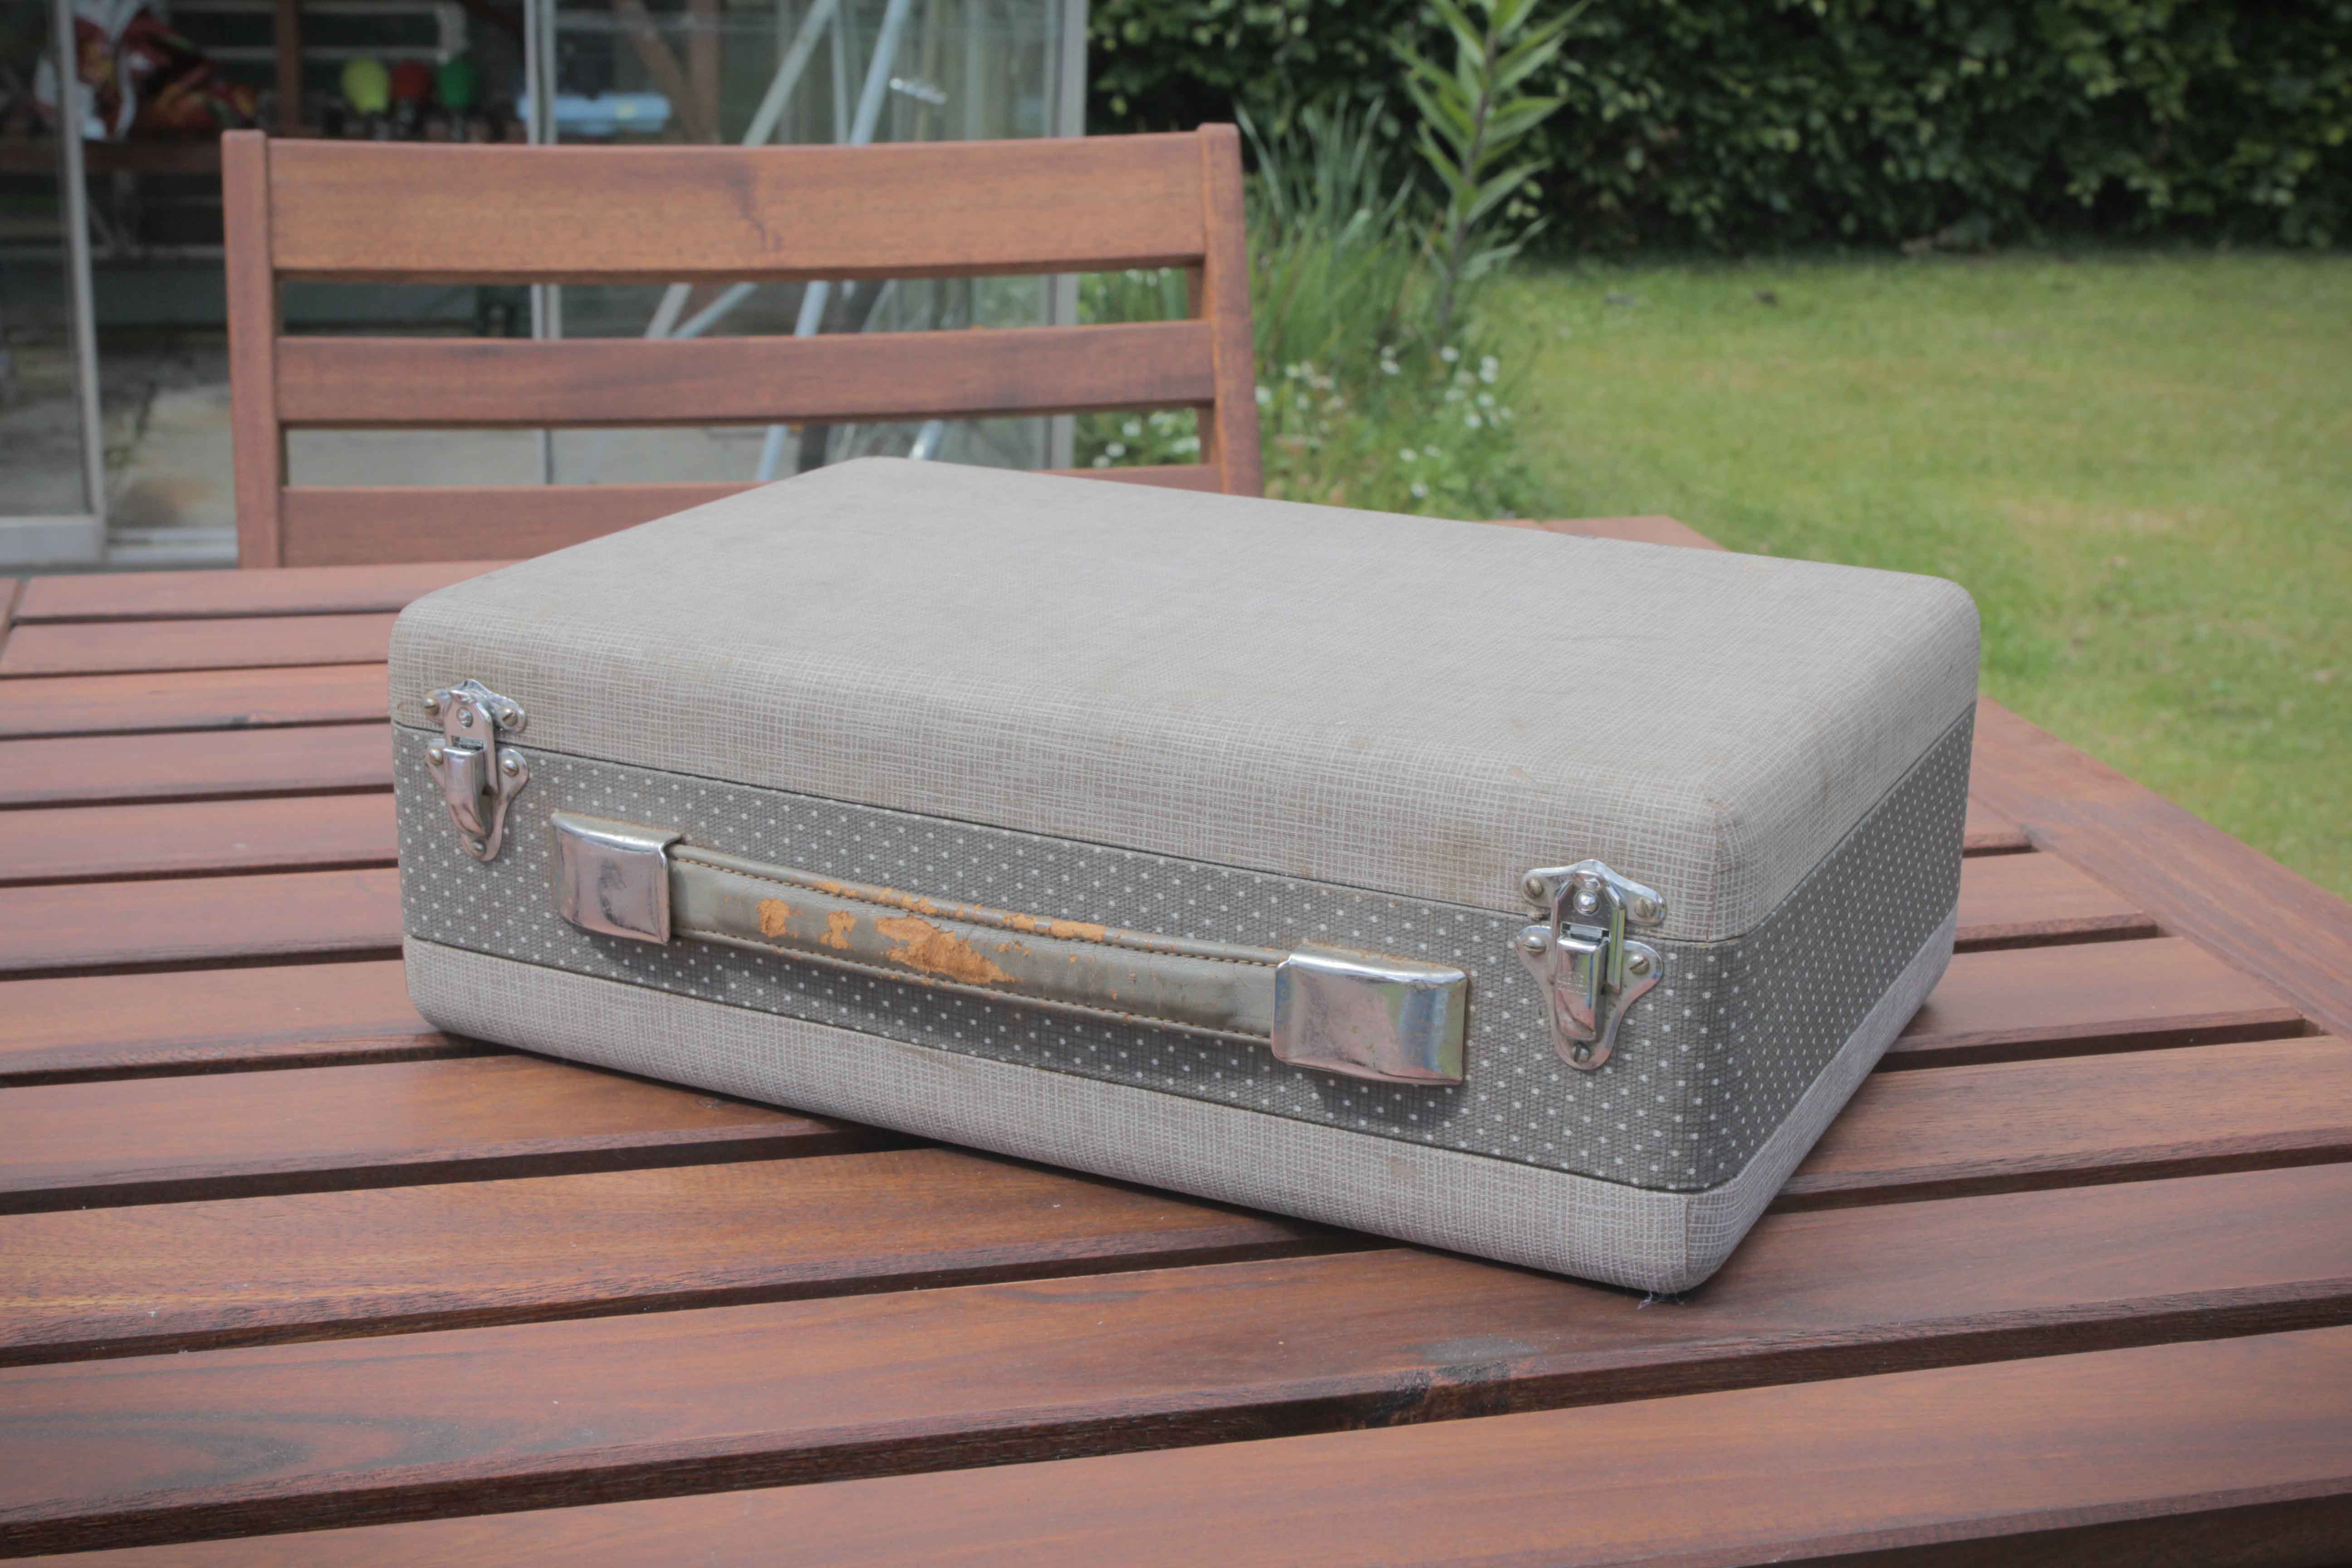
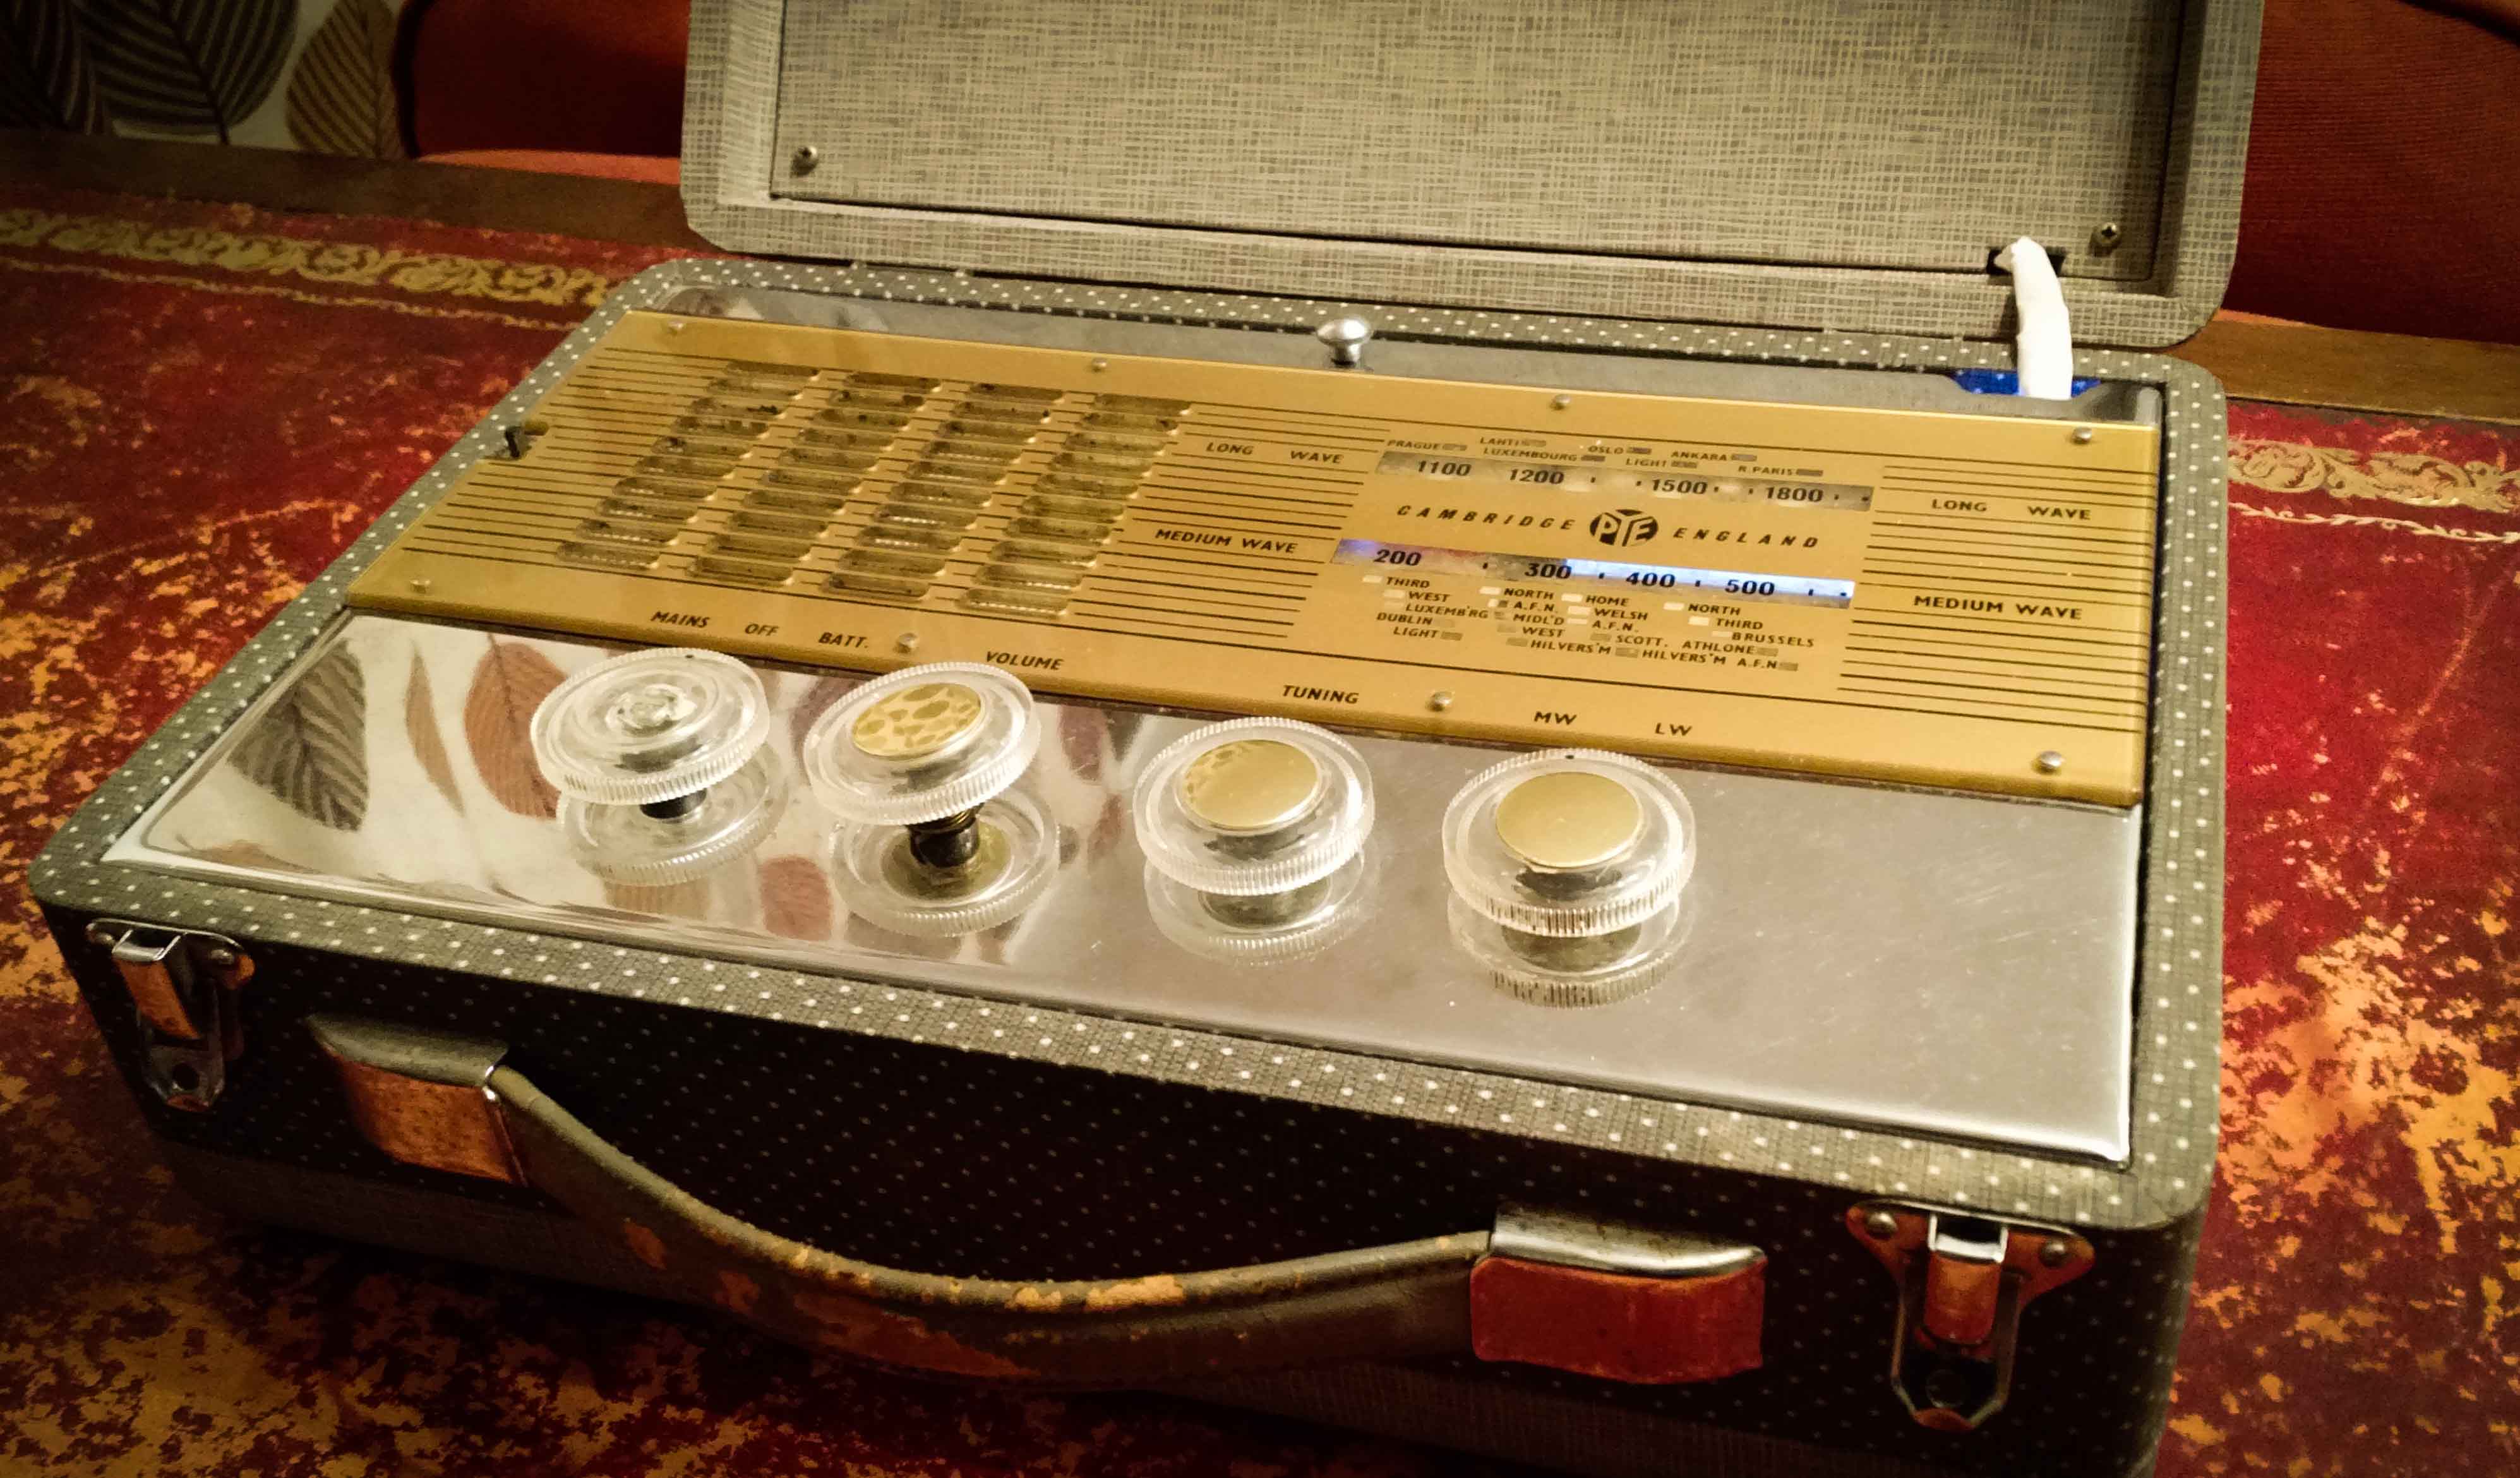
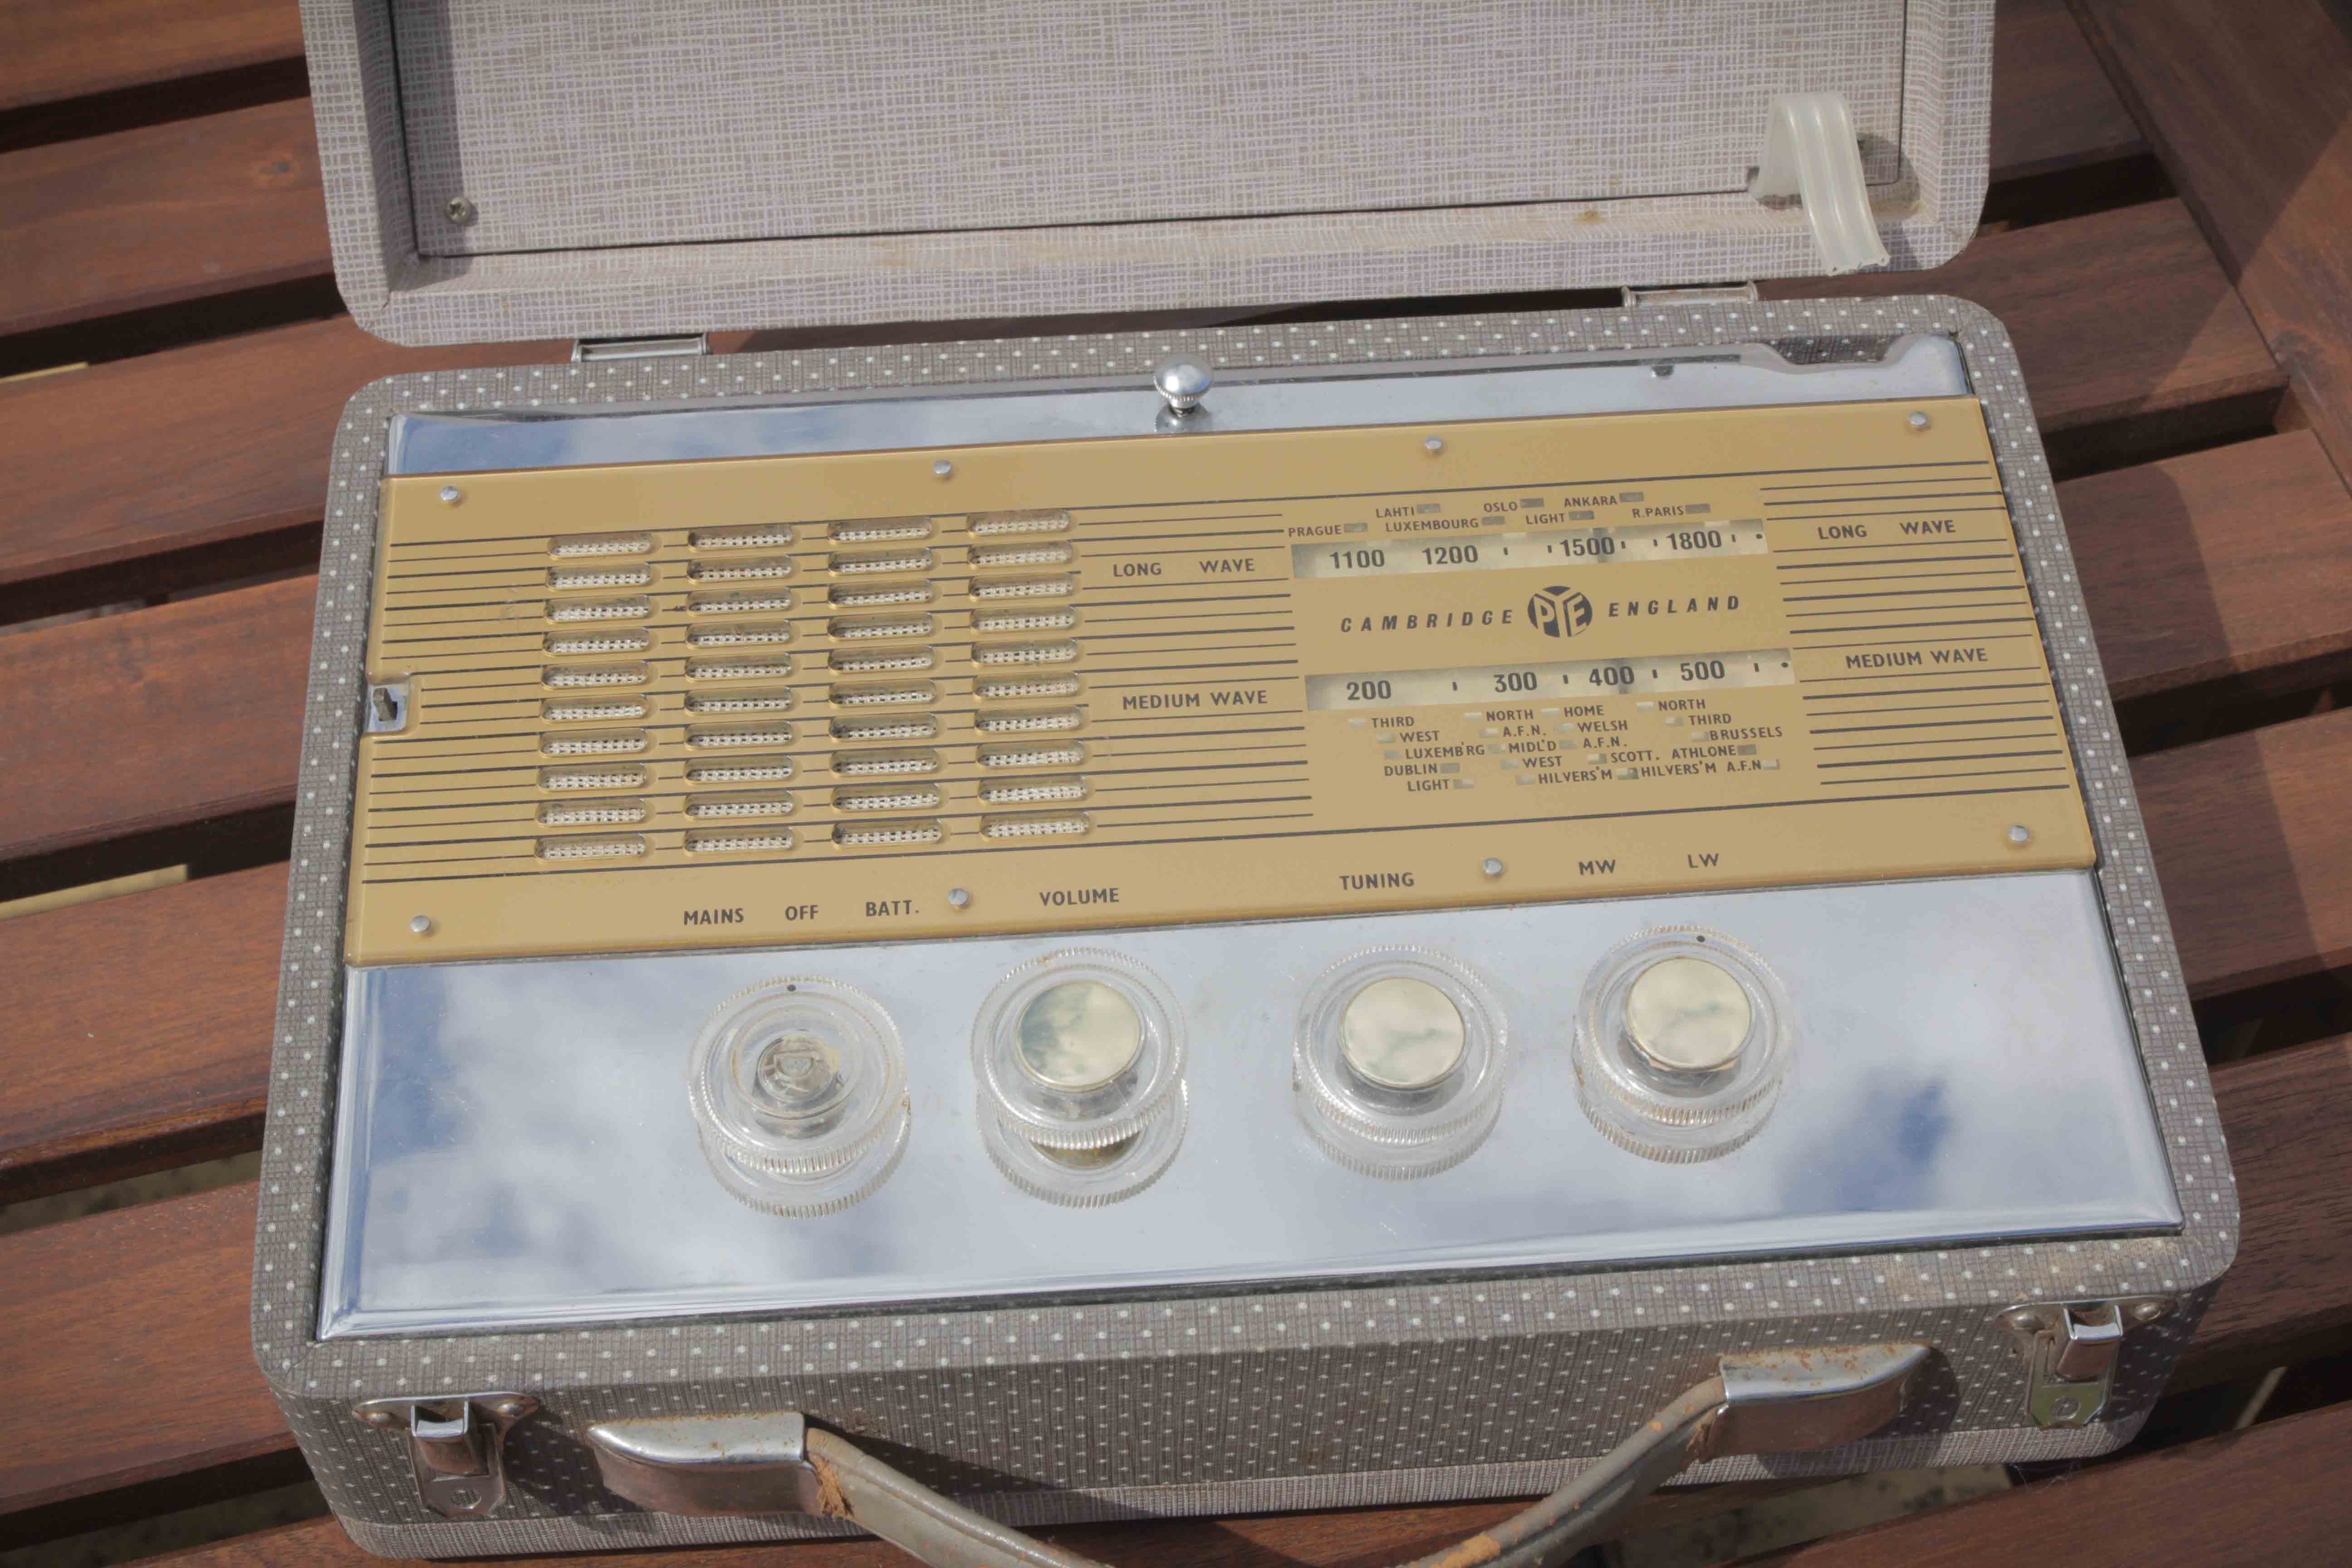
Once upon a time
This PYE radio dates from 1954 and was sold as the “Jewel Case”. It uses Amplitude Modulation on Medium Waves and Long Waves, and can be plugged on AC Mains or used with portable battery.
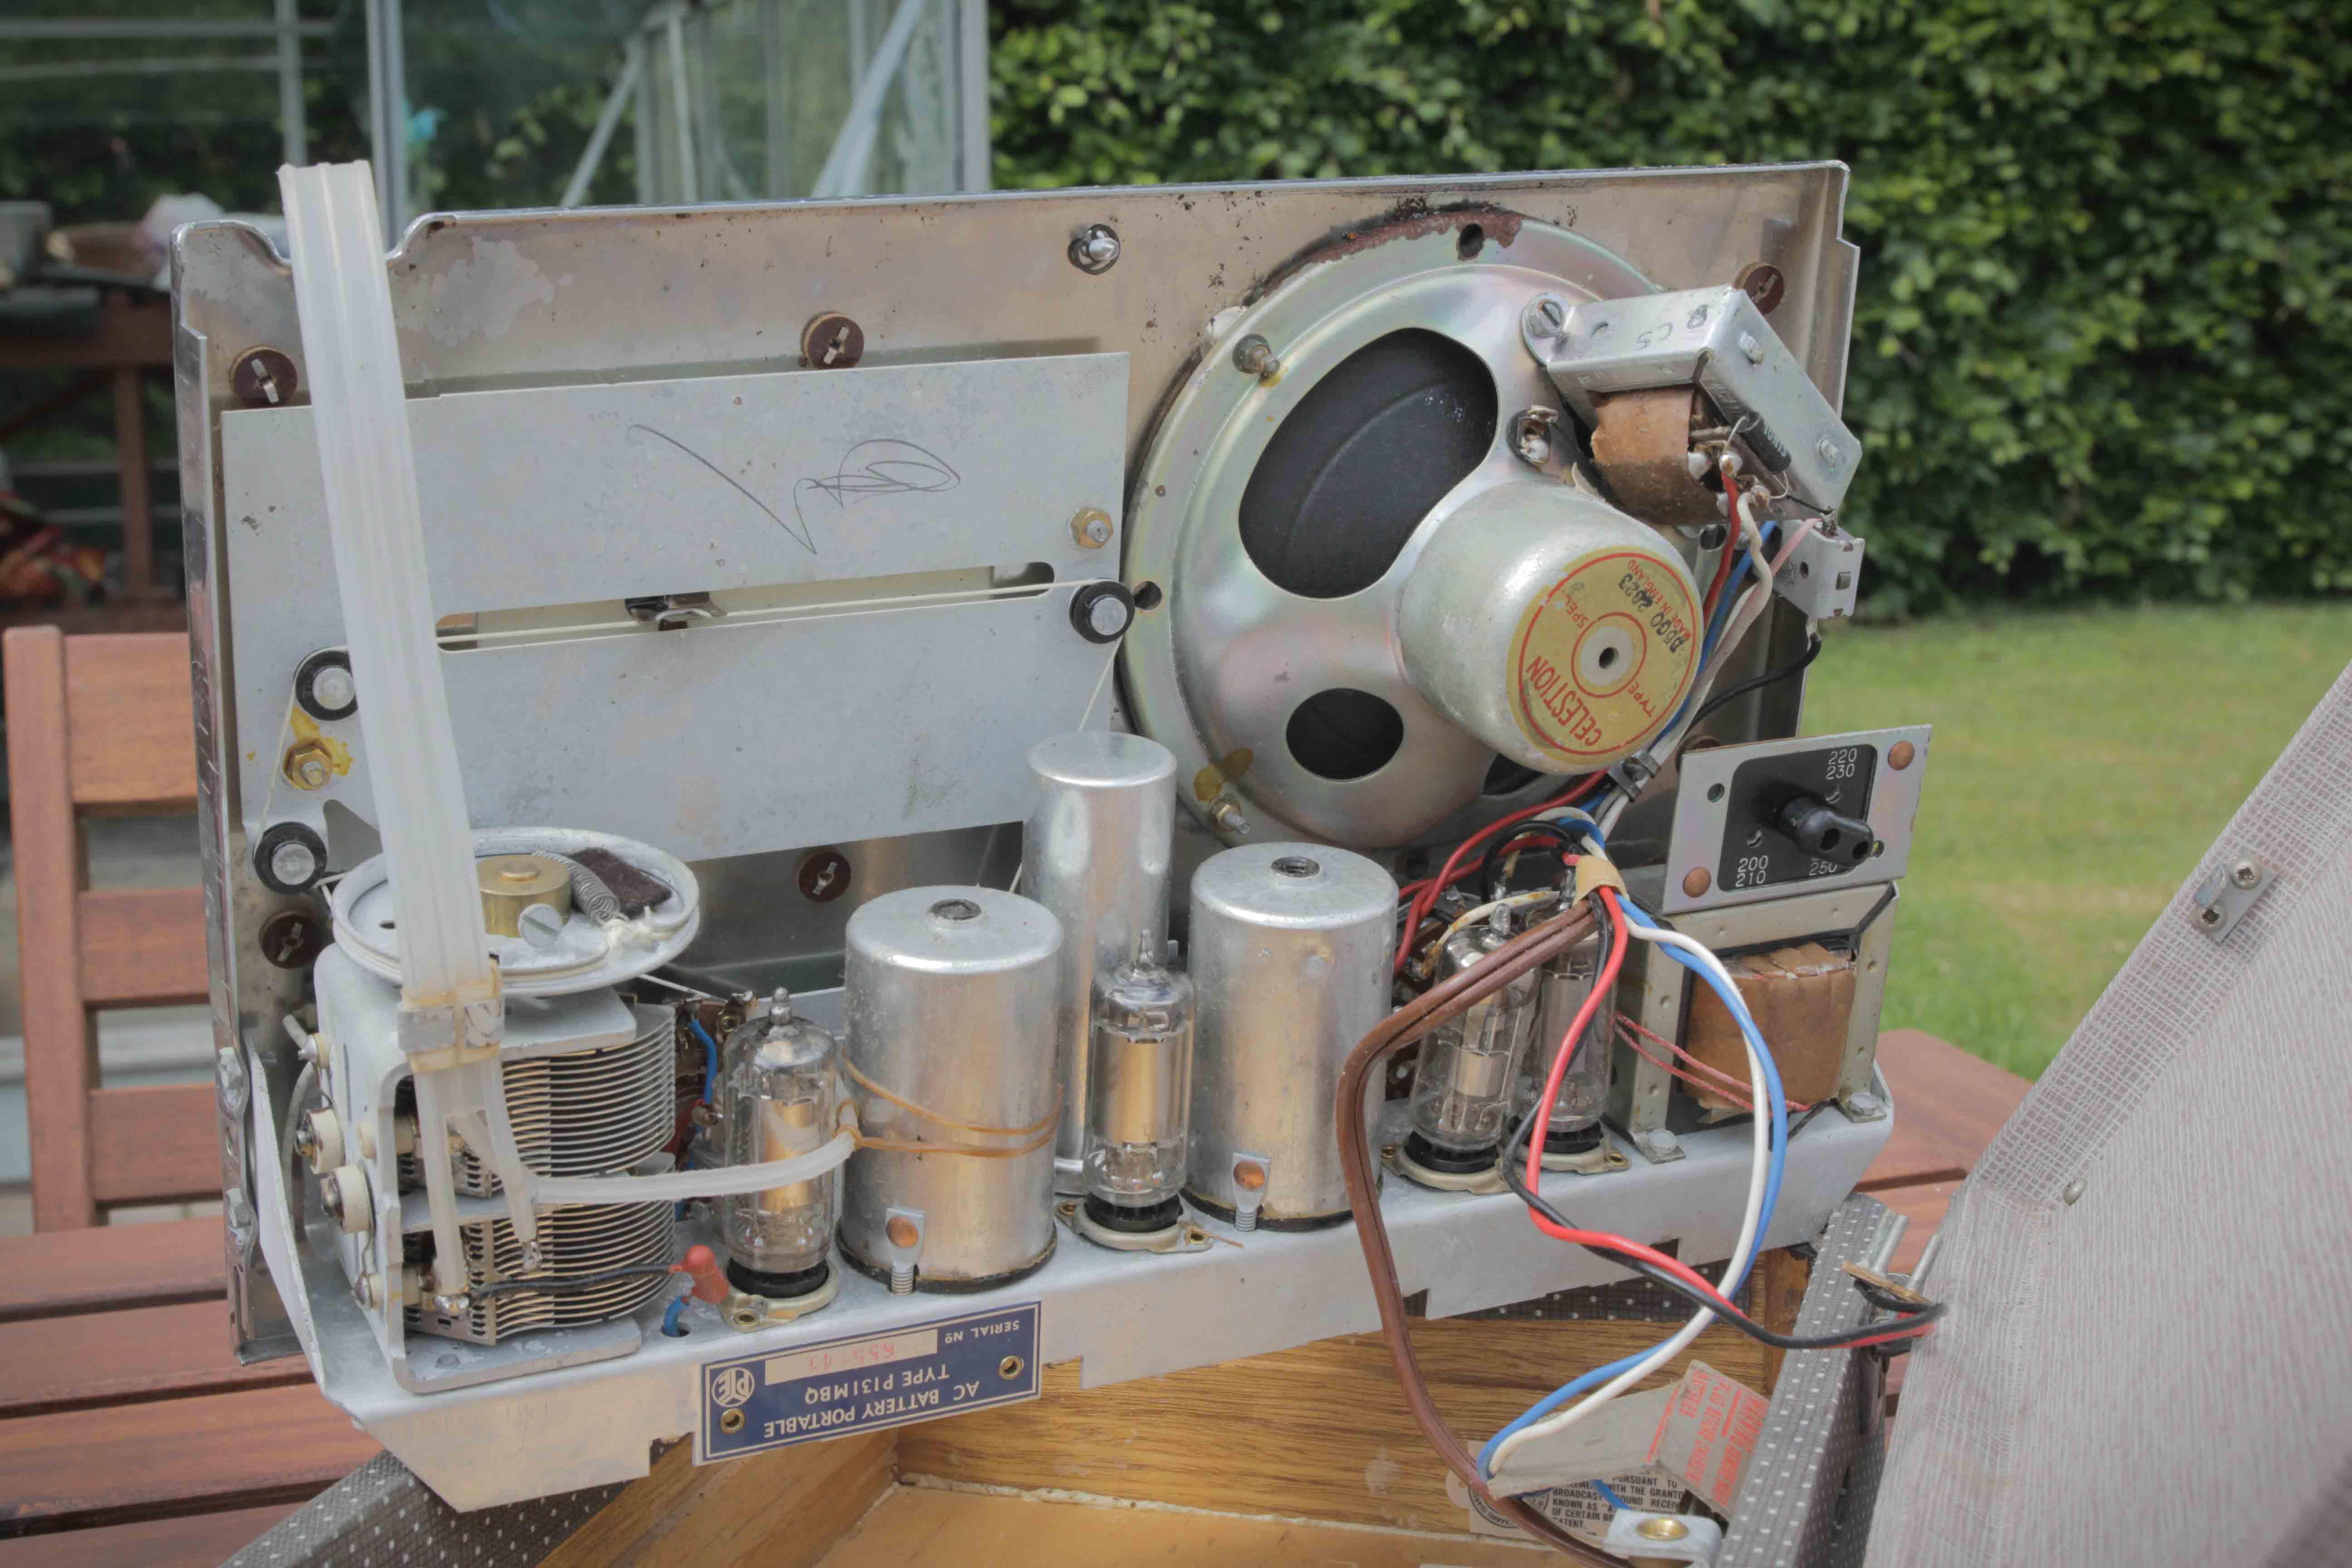
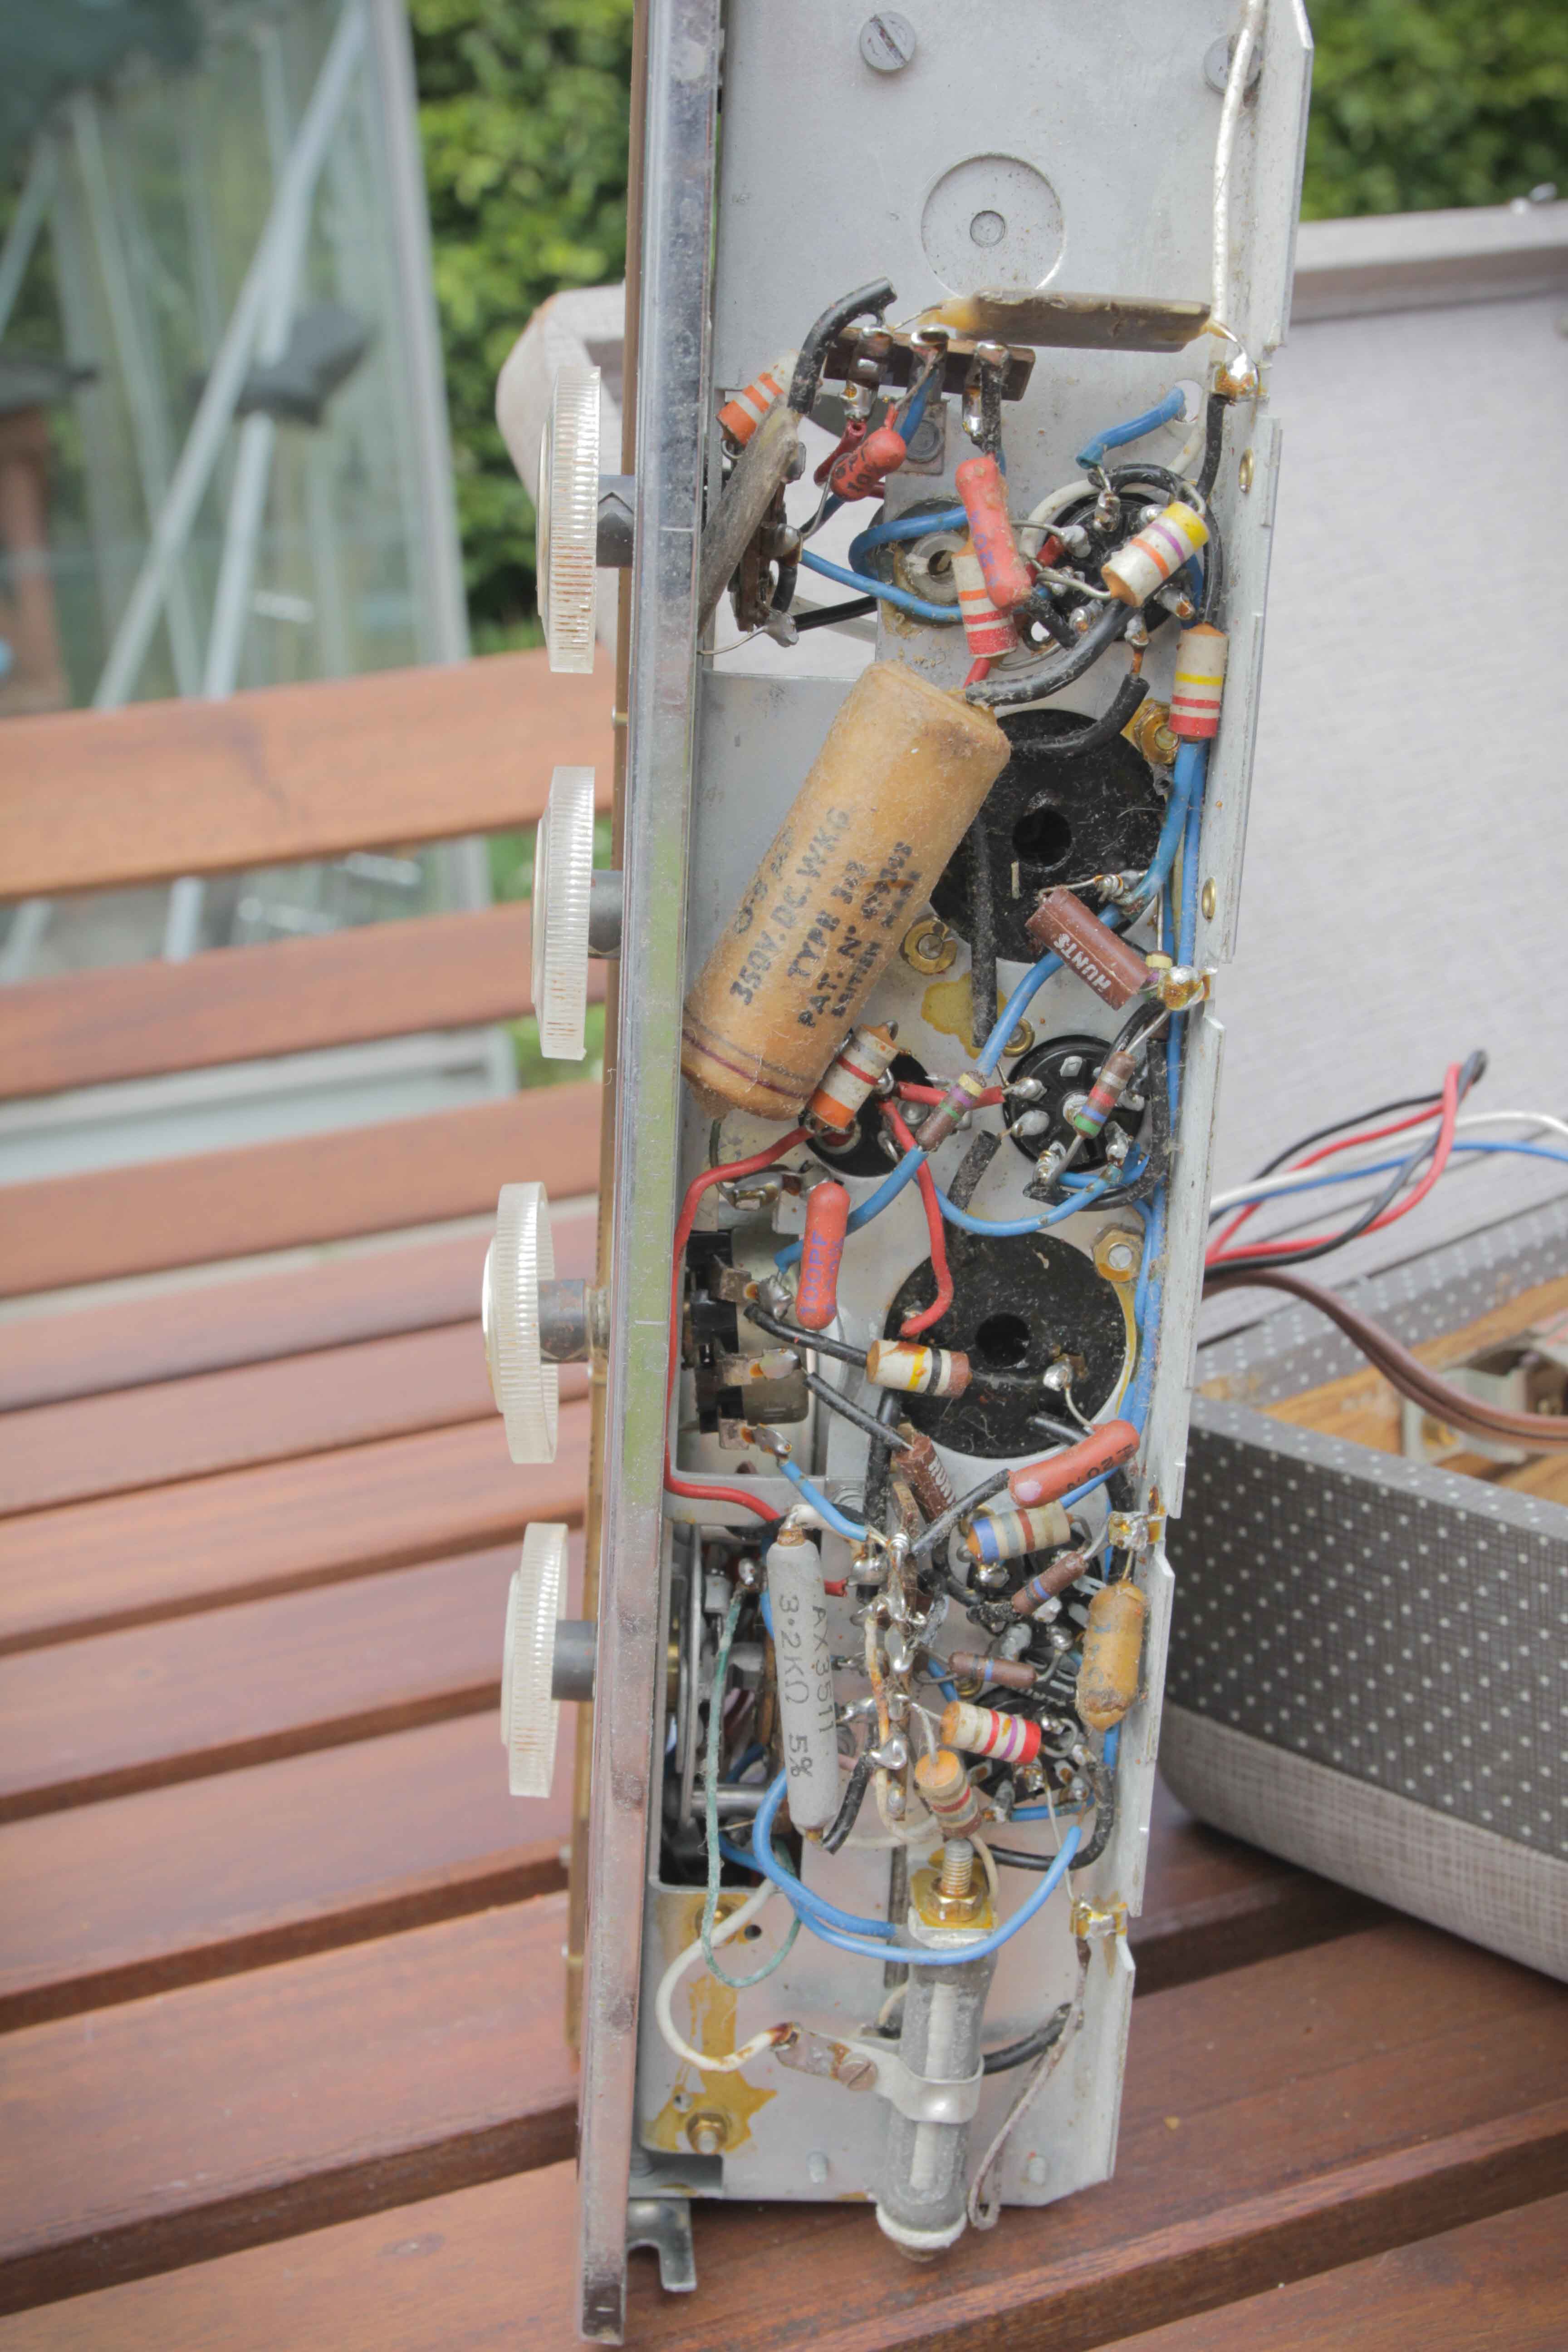
And a quick look inside:
Make it work
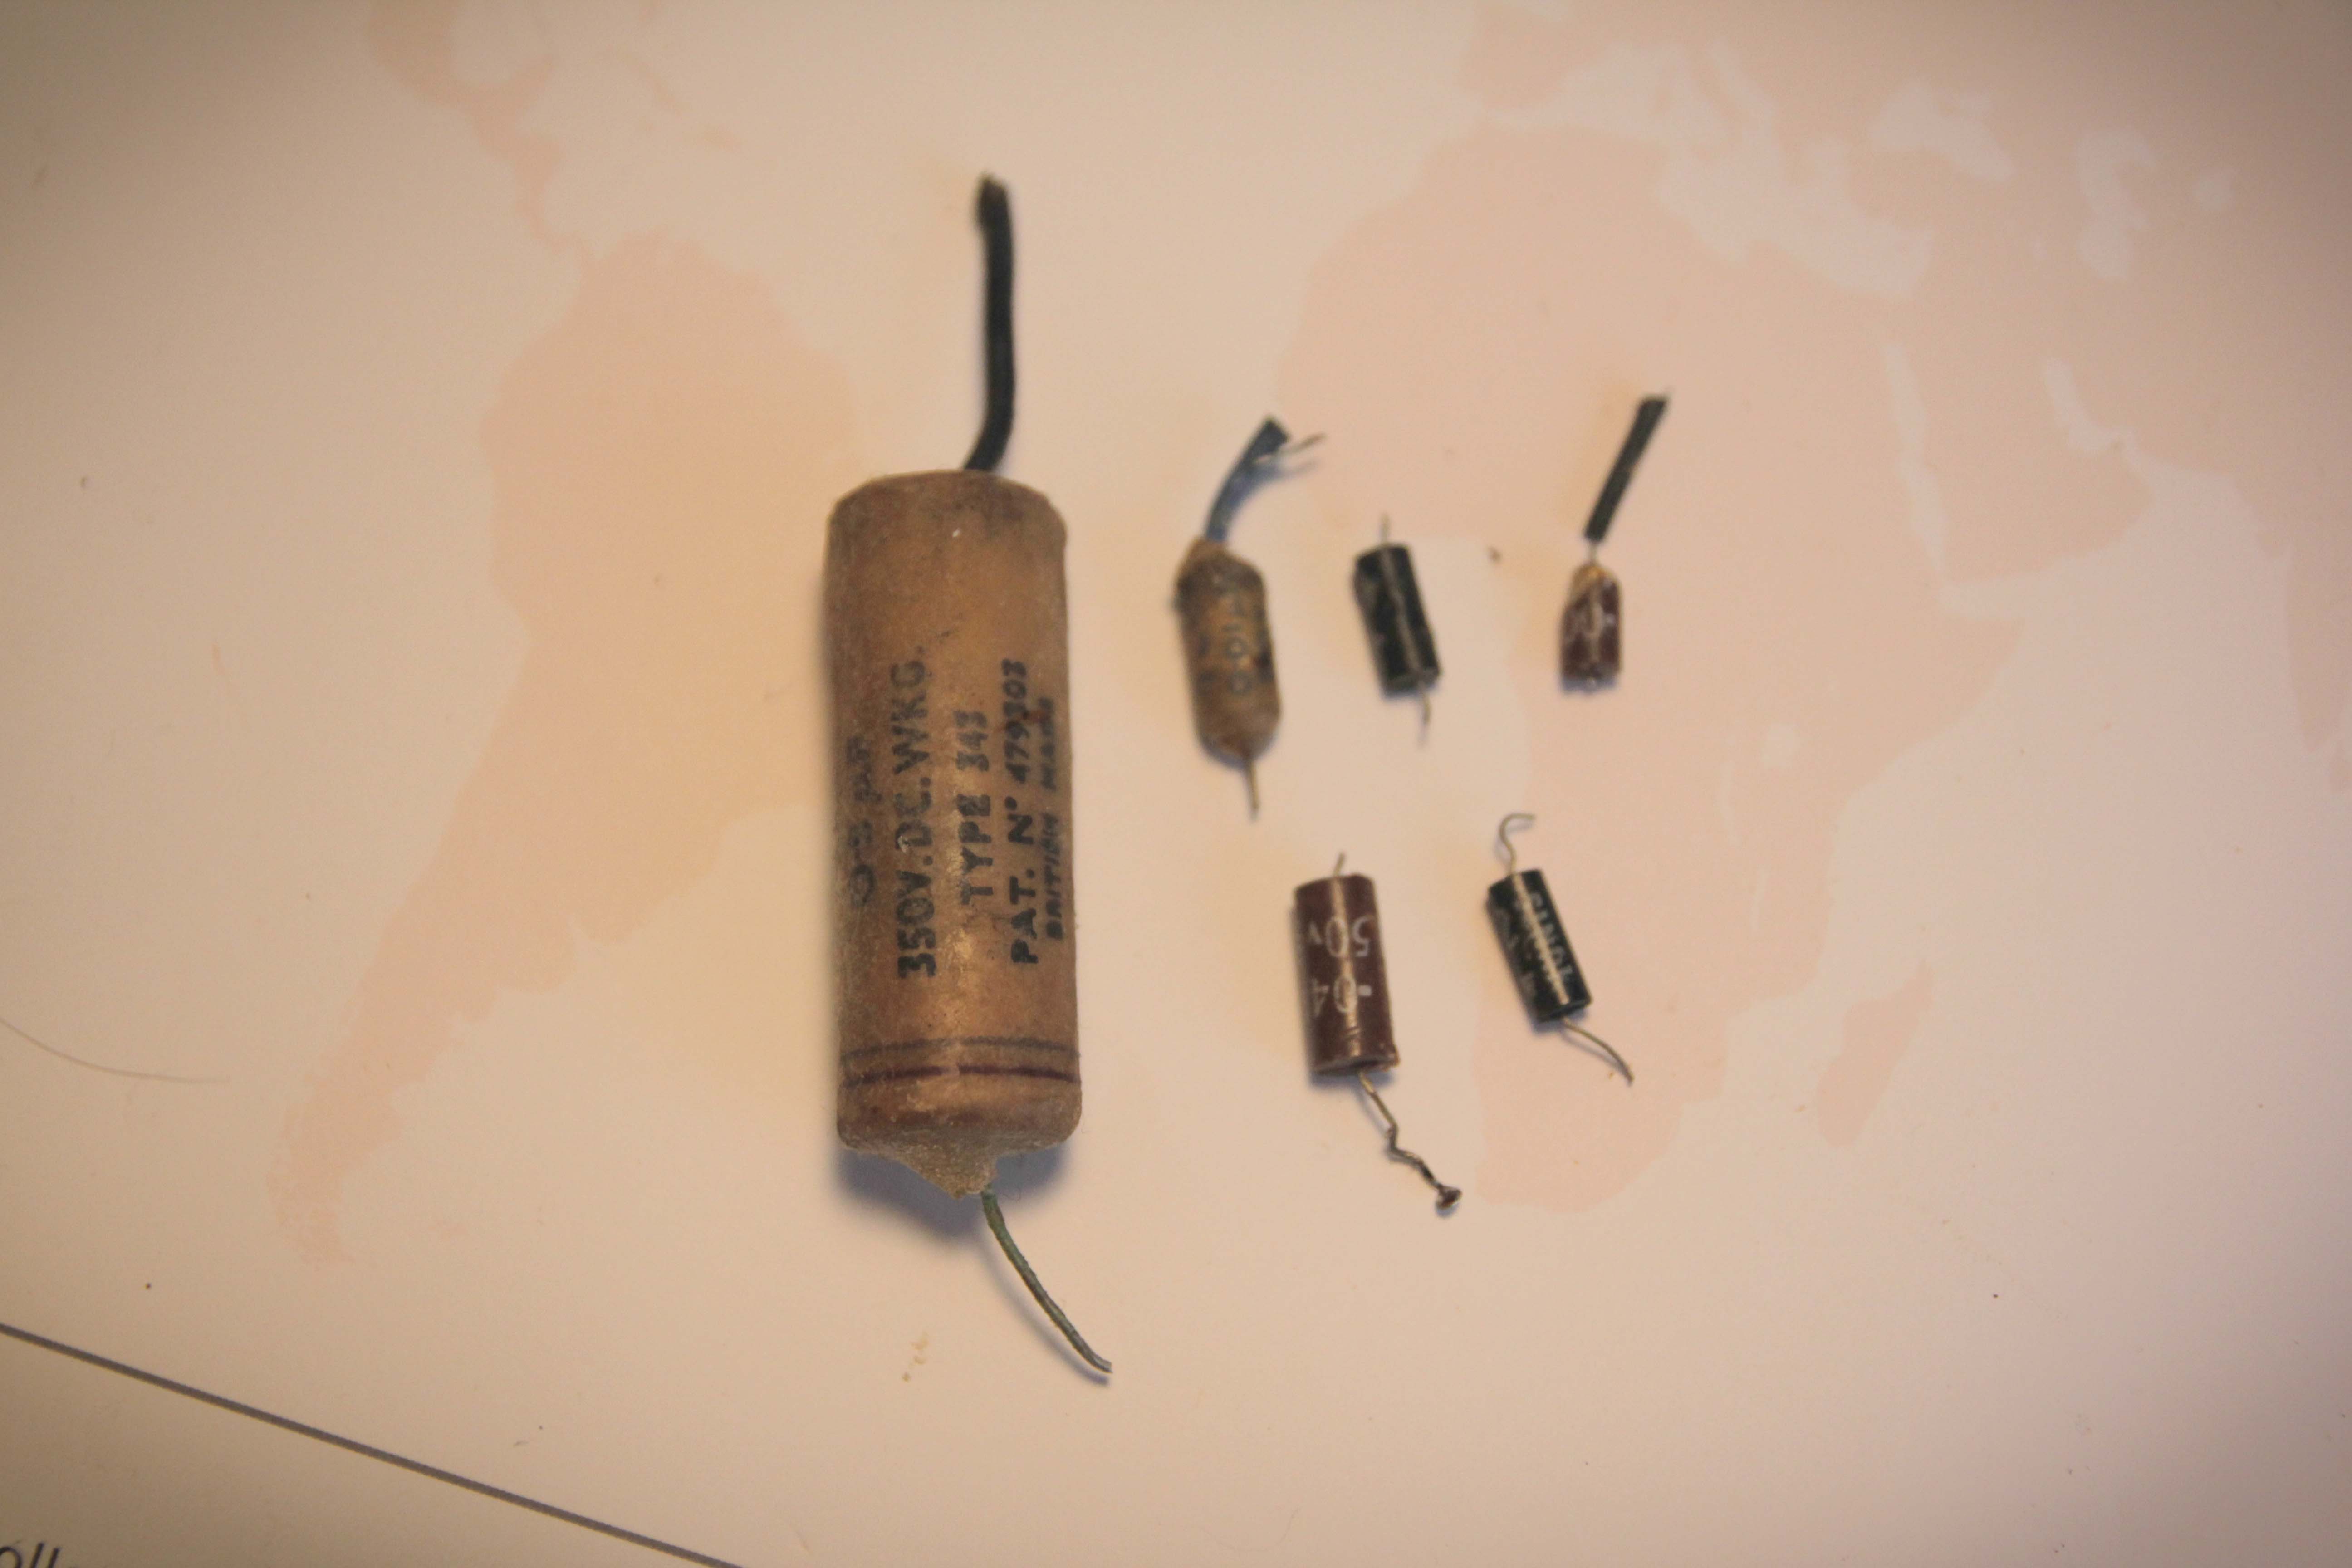
Before plugging the radio, I changed the paper and electrolytic capacitors. They don’t last many years and it could be bonfire night if I plug the radio with a faulty one.
Old capacitors:
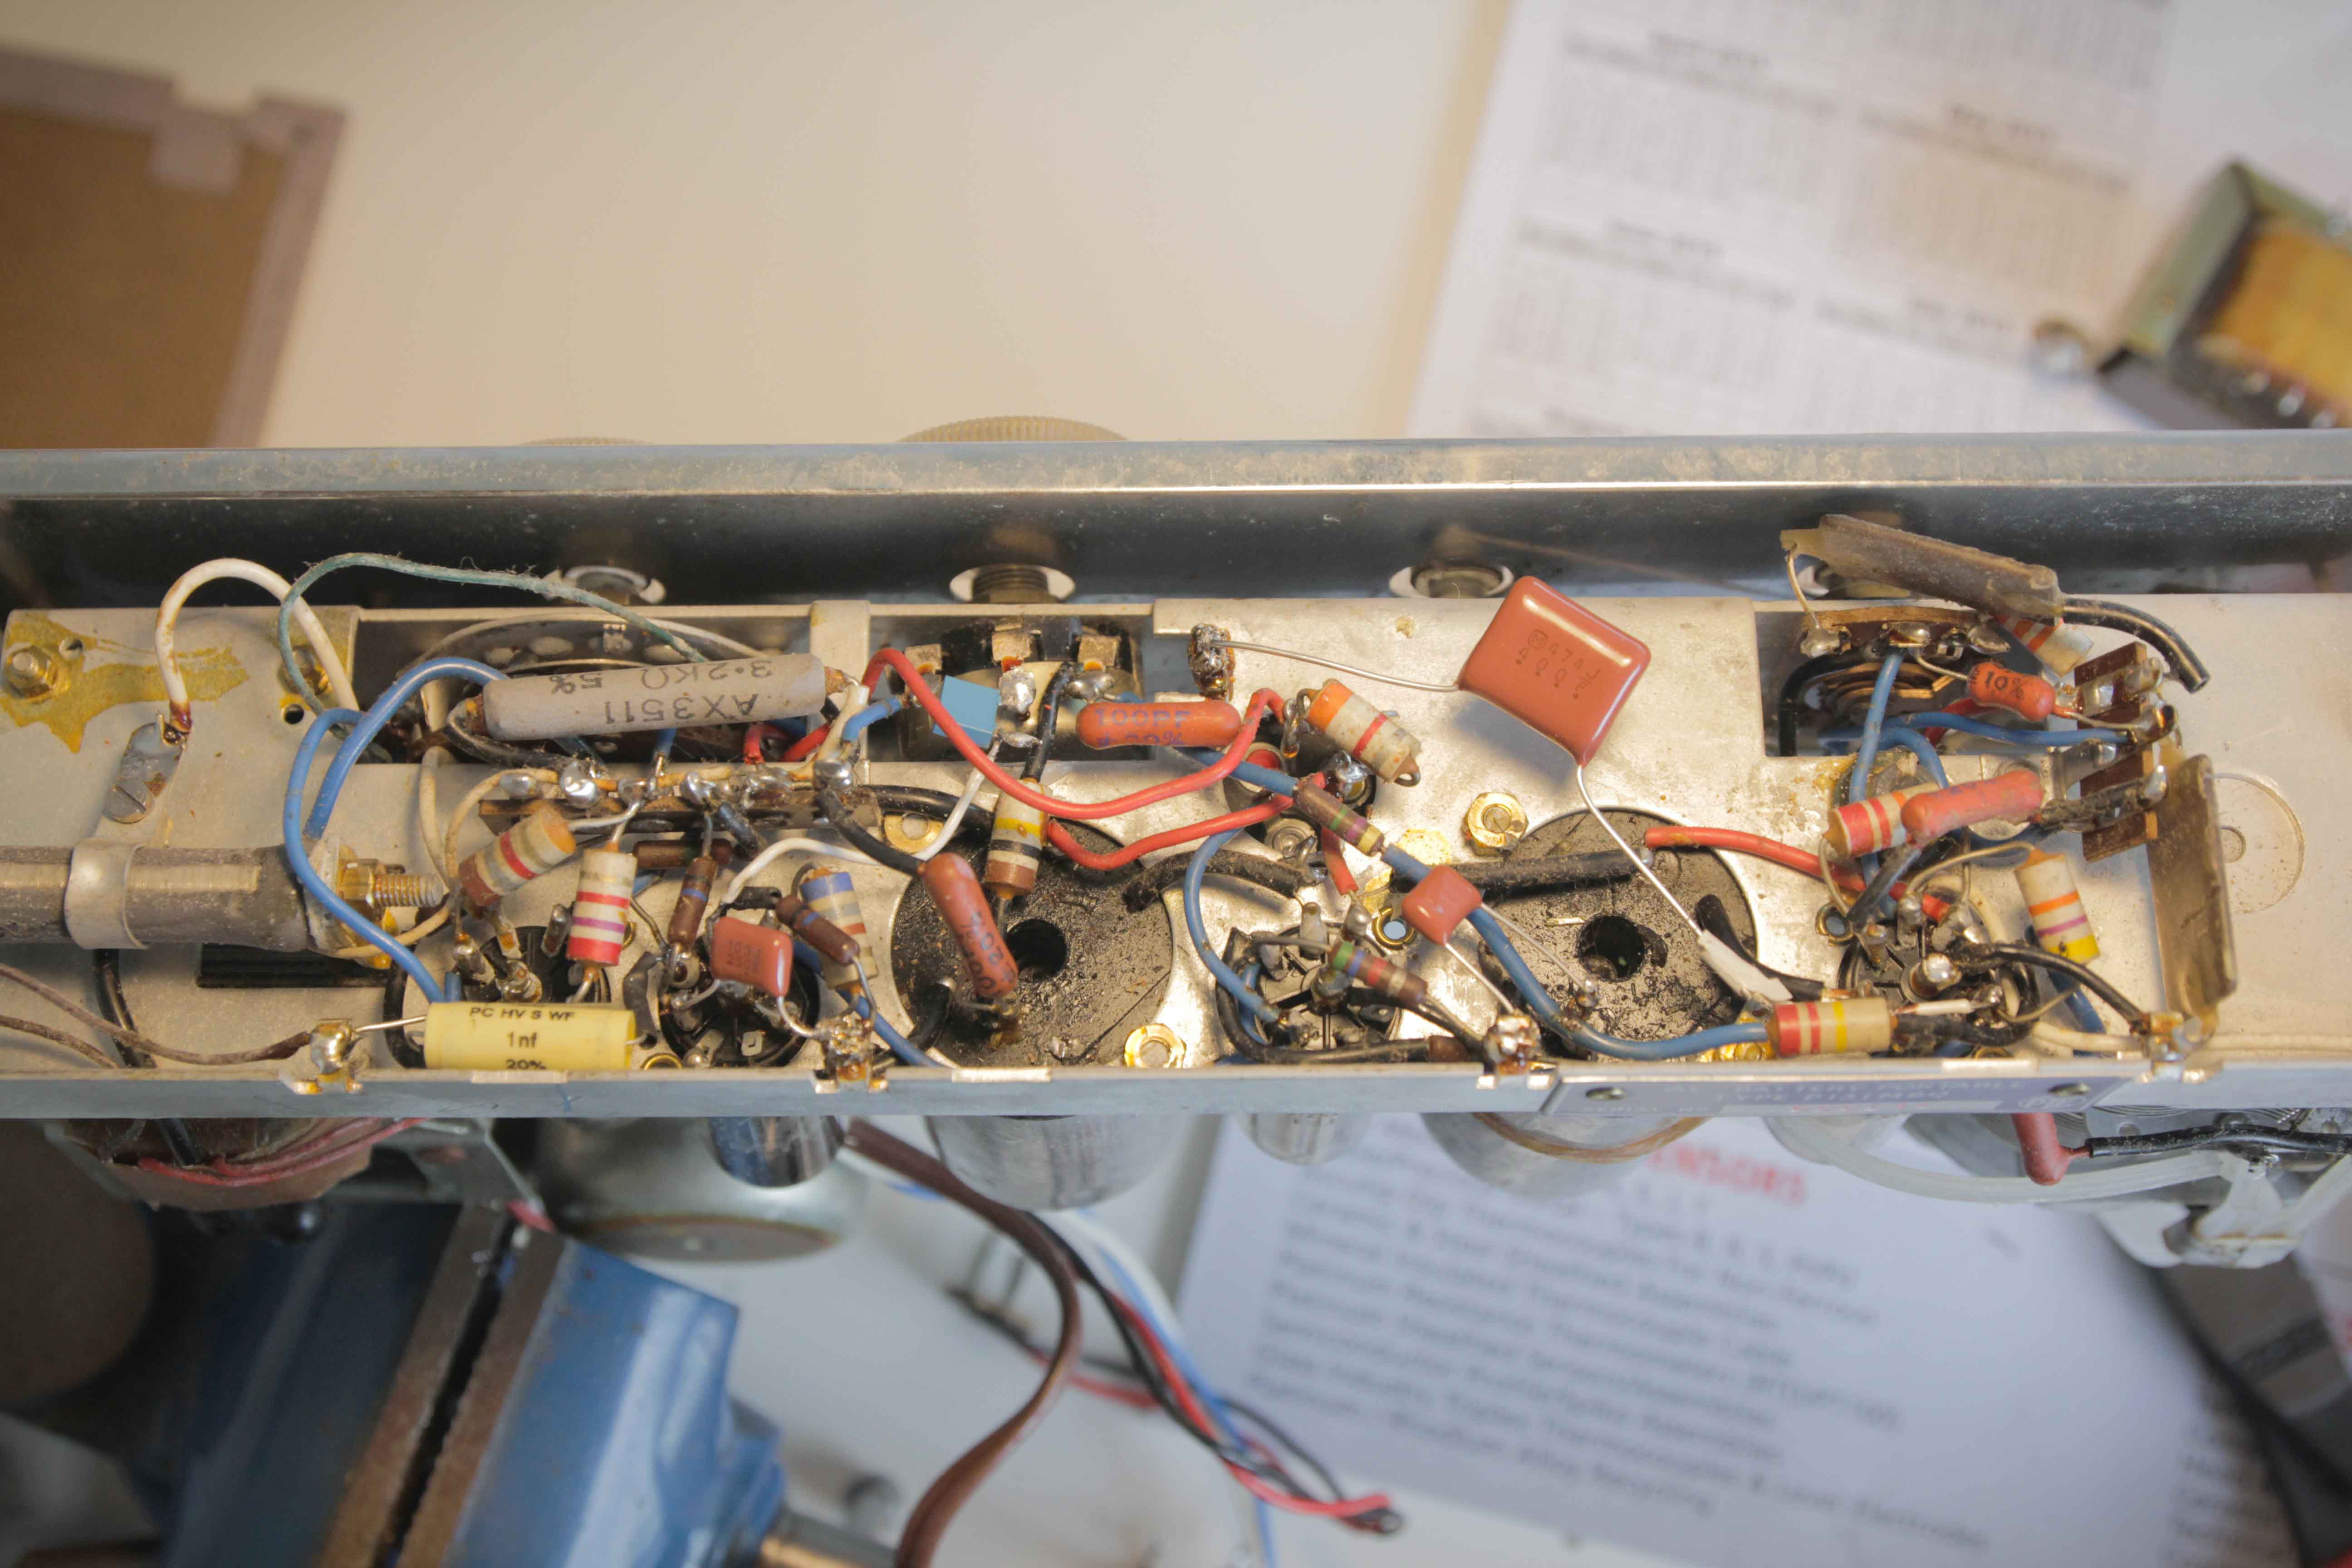
Radio after soldering:
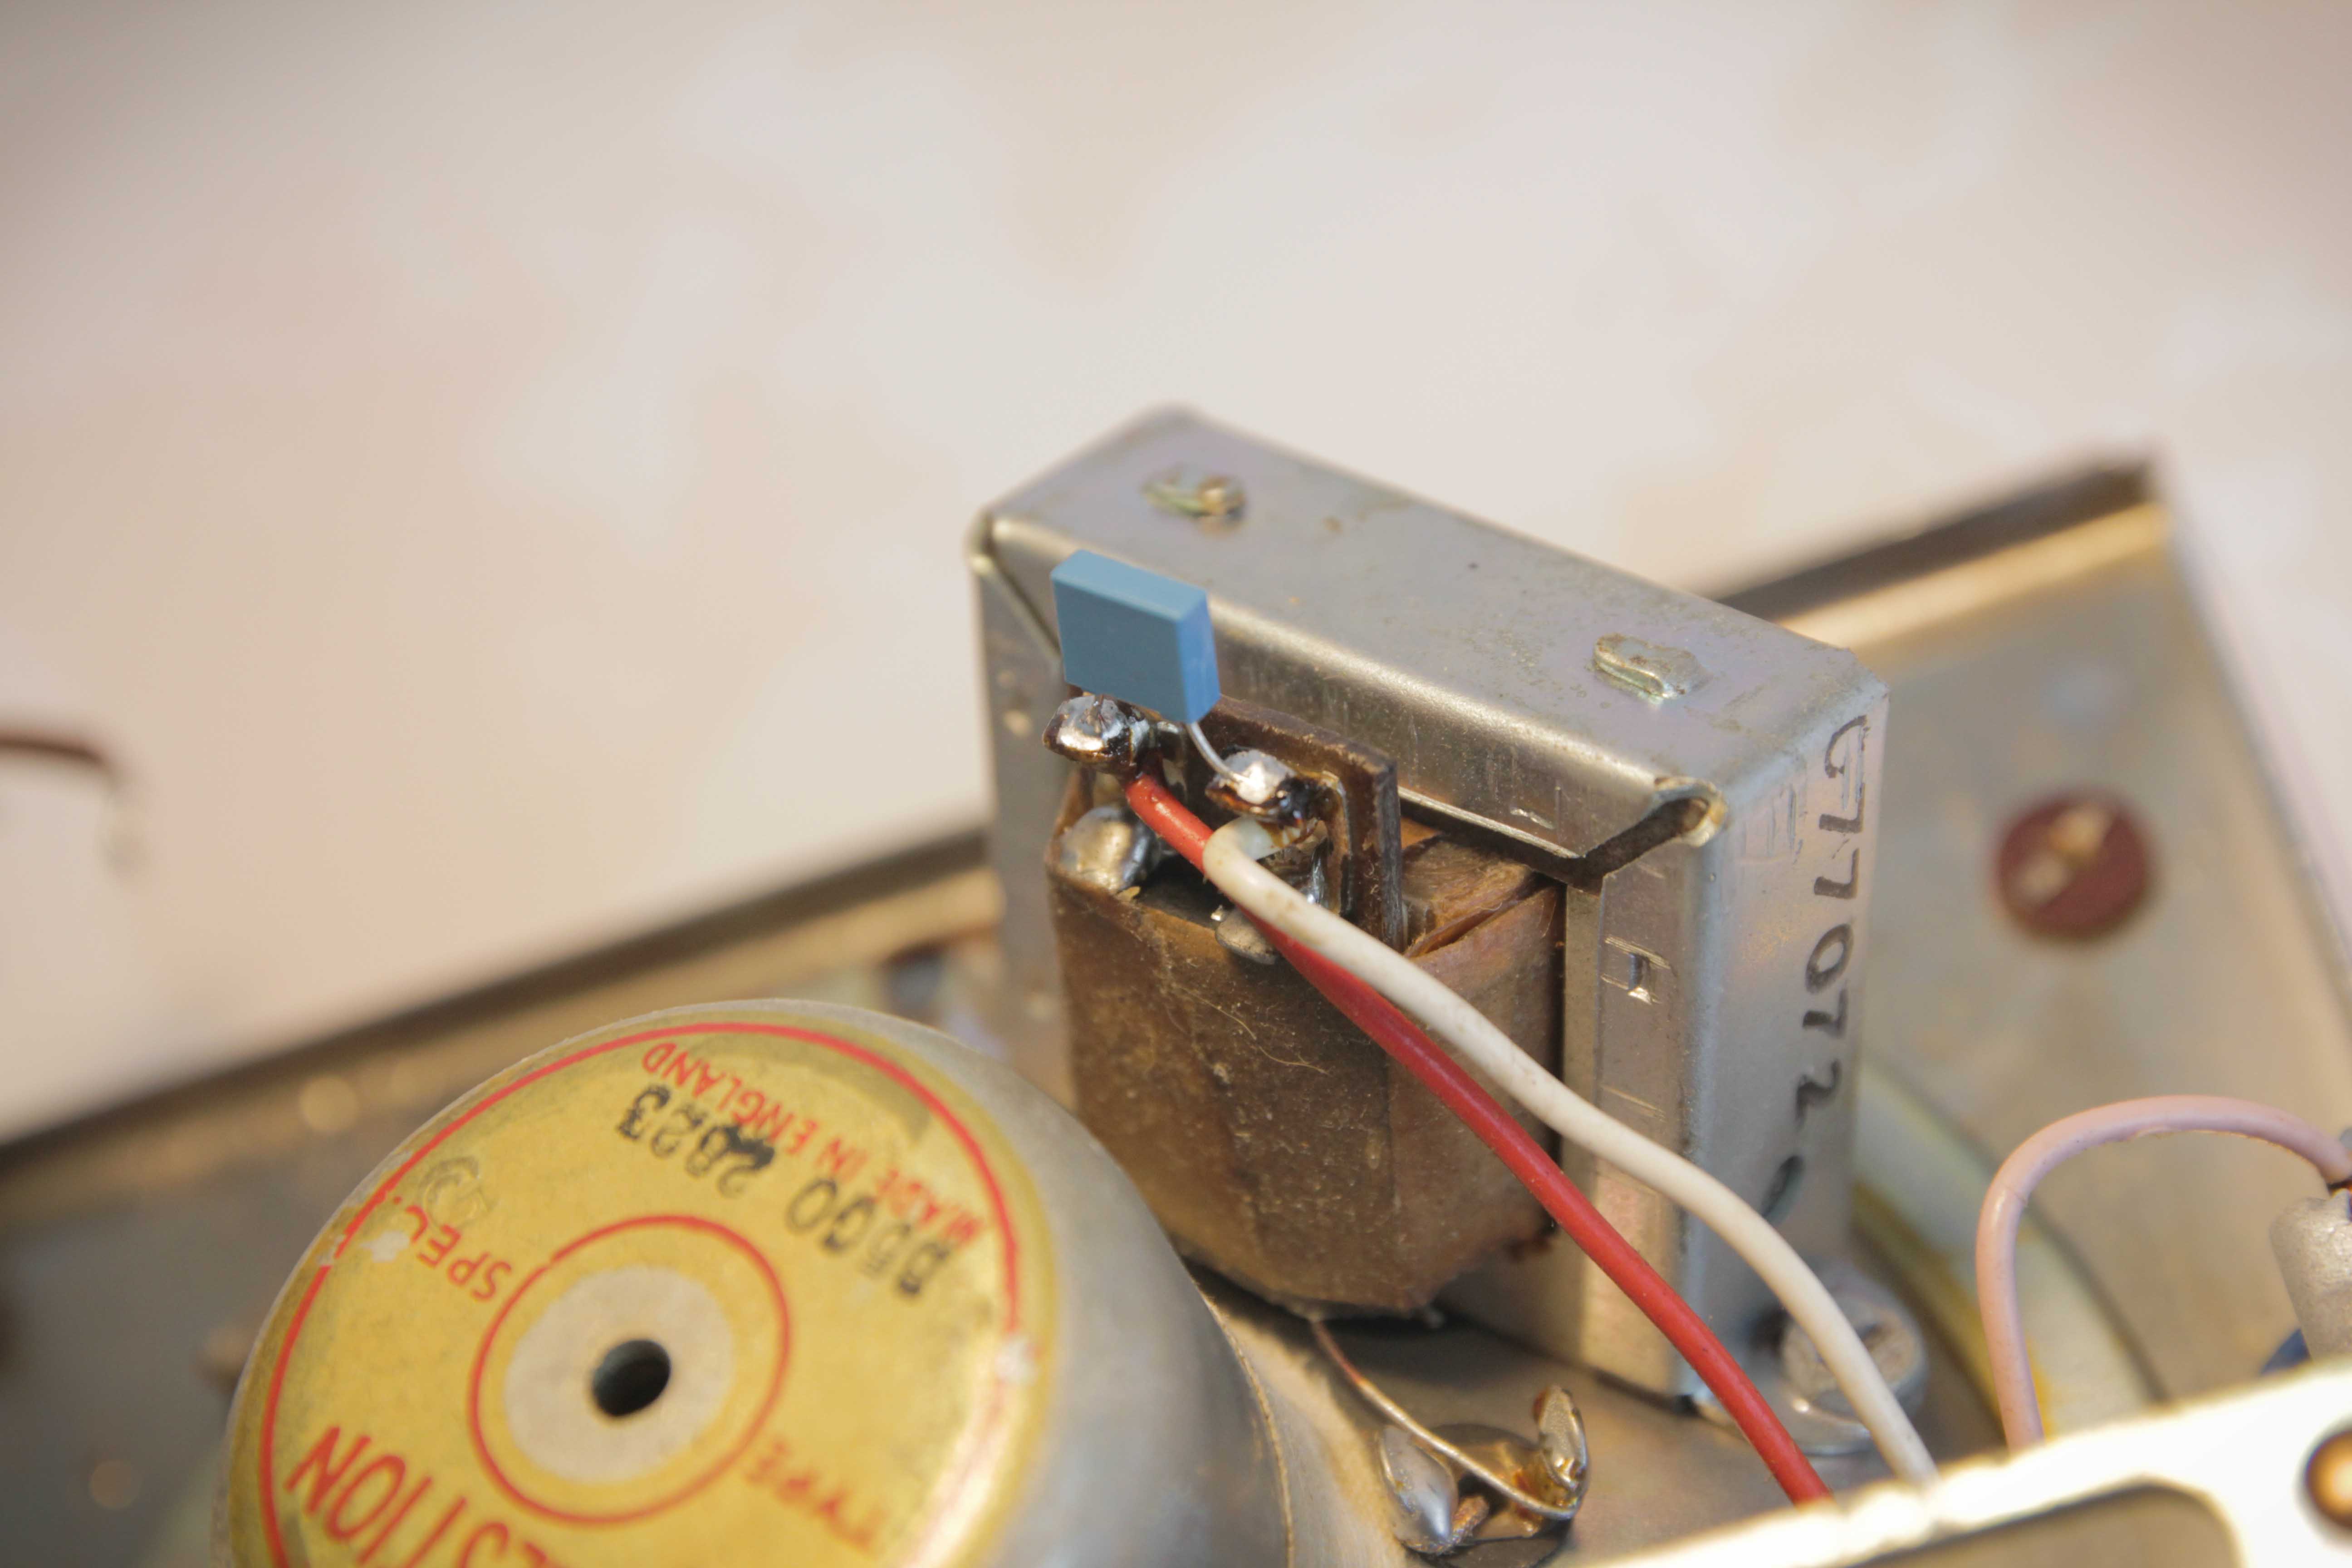
Time to plug the radio. And.. Nothing. After investigation, the output transformer is dead. That’s annoying! The cheapest solution I found was to.. order another PYE radio! I changed the transformer and it works.
The sound quality is yet to be very good, but at least it works. On Long Waves, I even manages to get a signal from two french stations, known as France Inter and Europe 1.
Upgrade
An AM radio is not really usefull nowadays, so I deciced to upgrade it in order to get internet radio stations. I found this project from the Brimingham Hackspace fizzPOP. It’s very similar to what I desired, so I used the same setup.
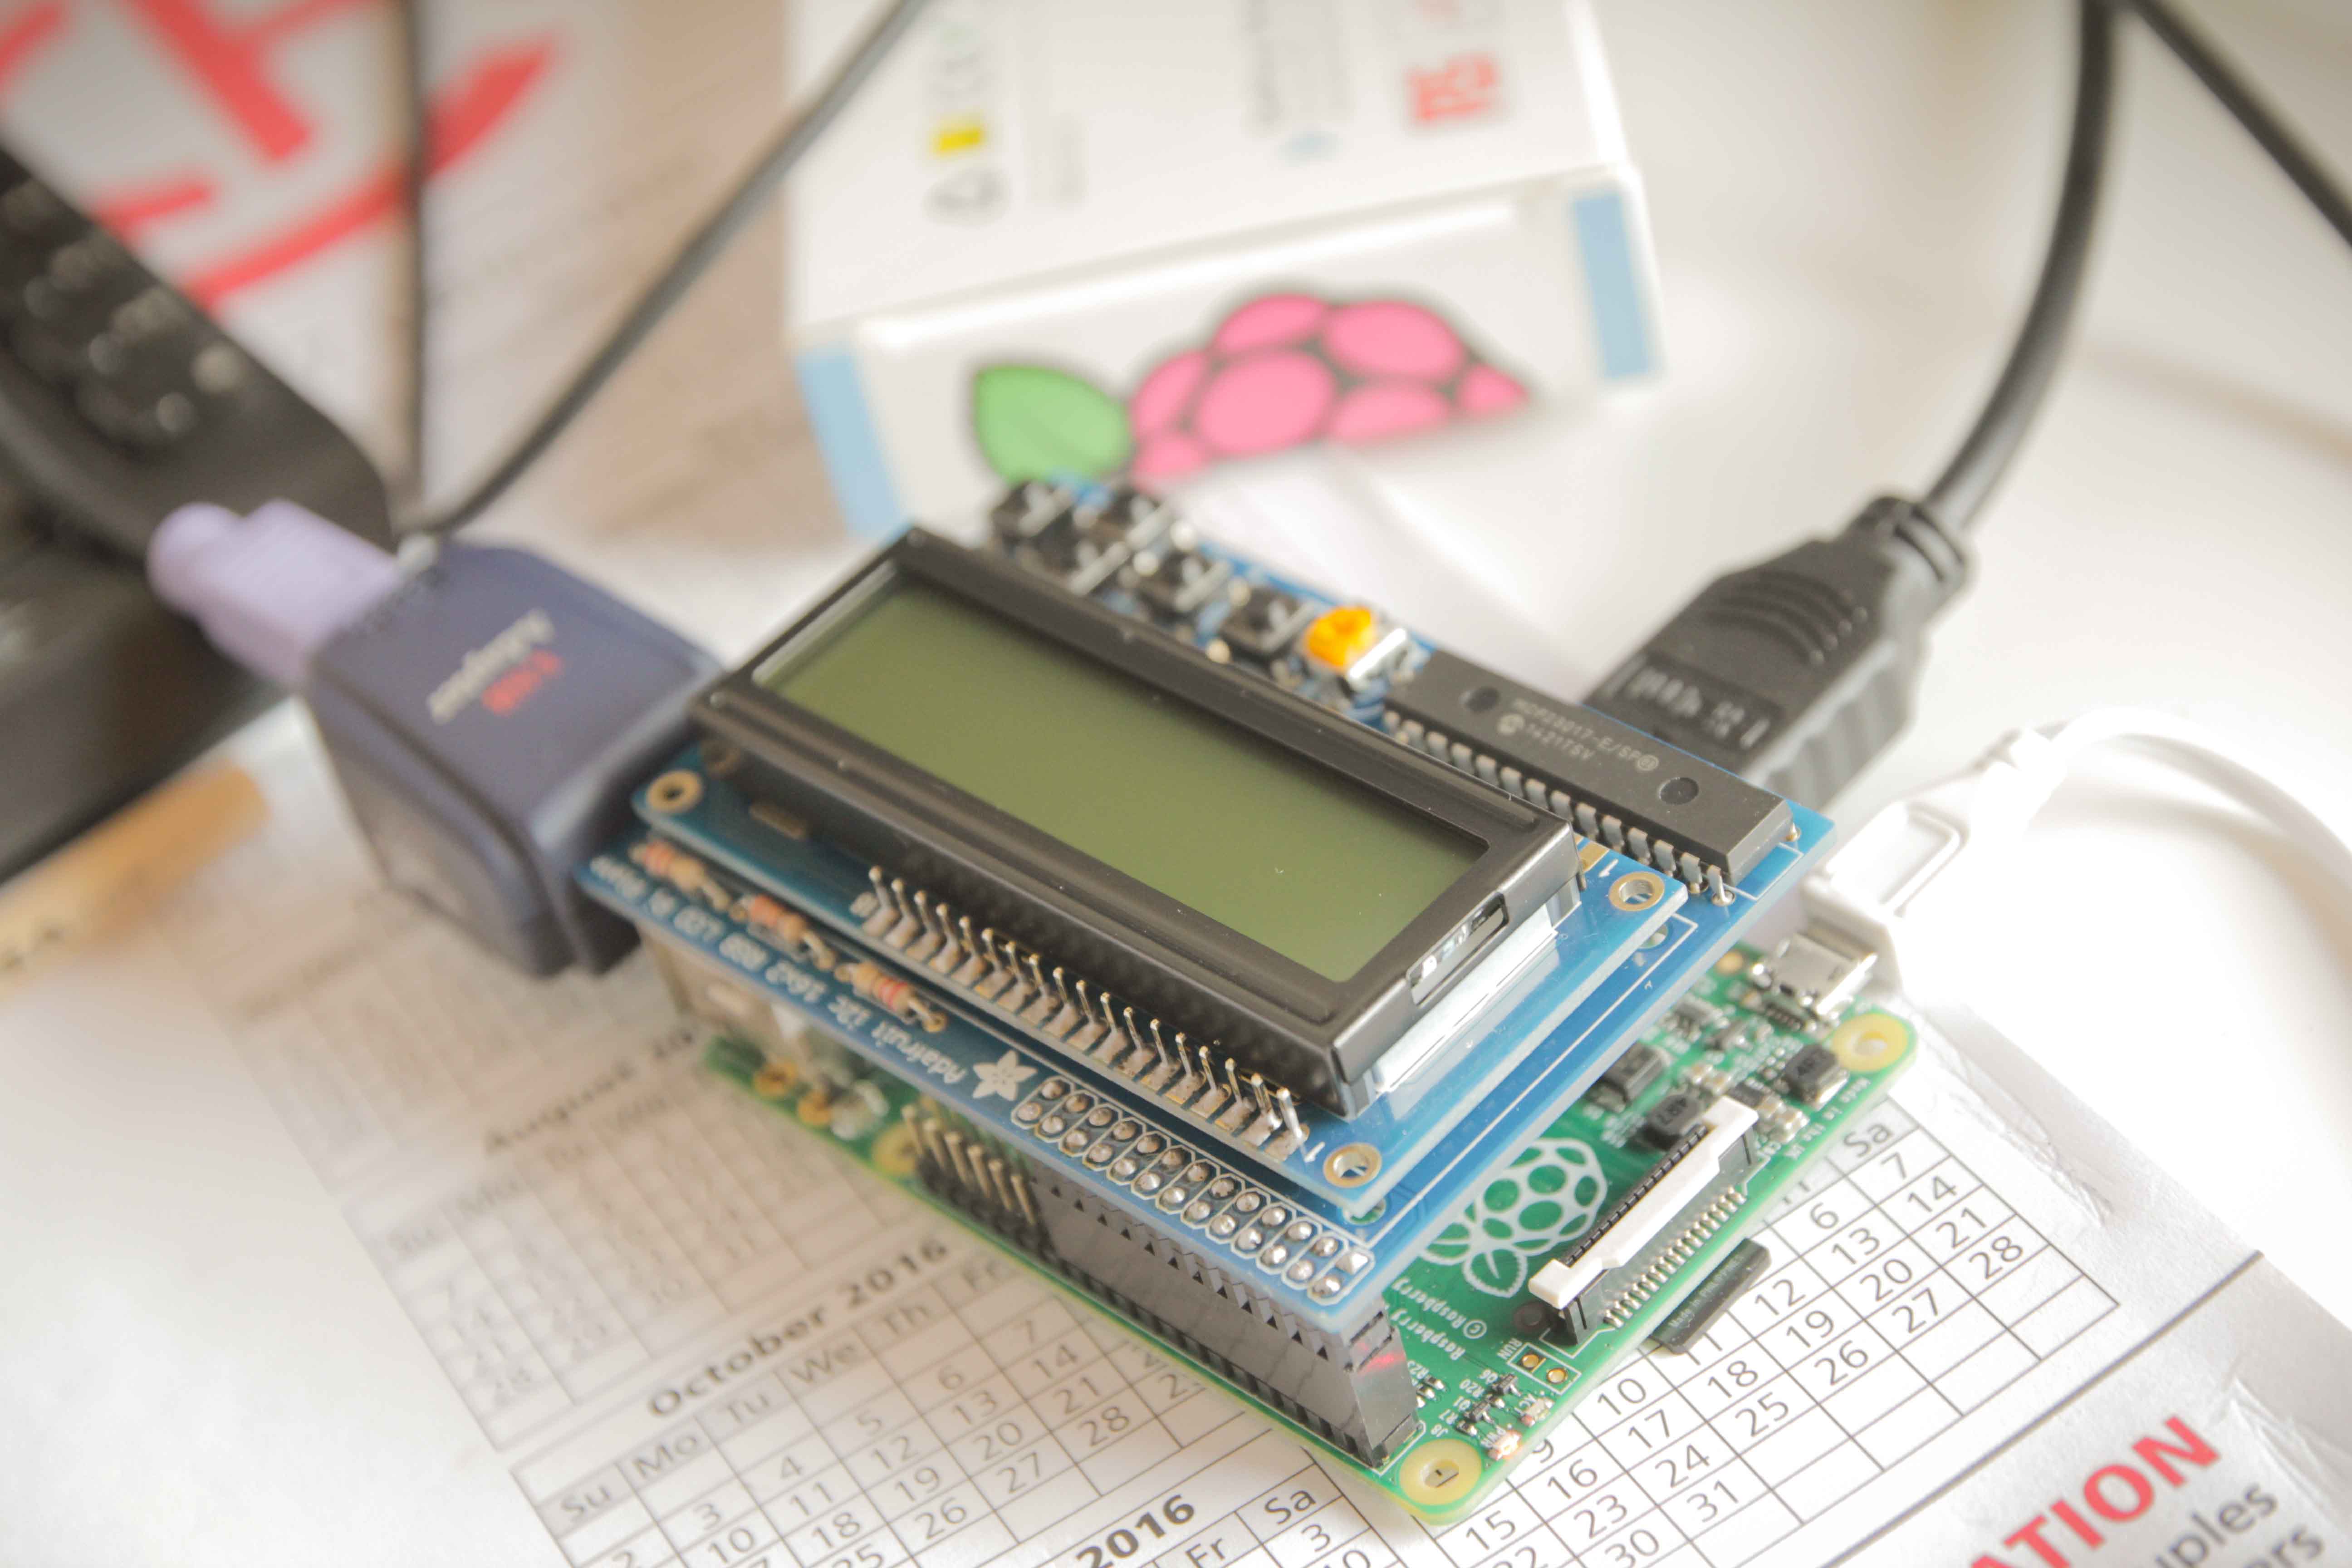
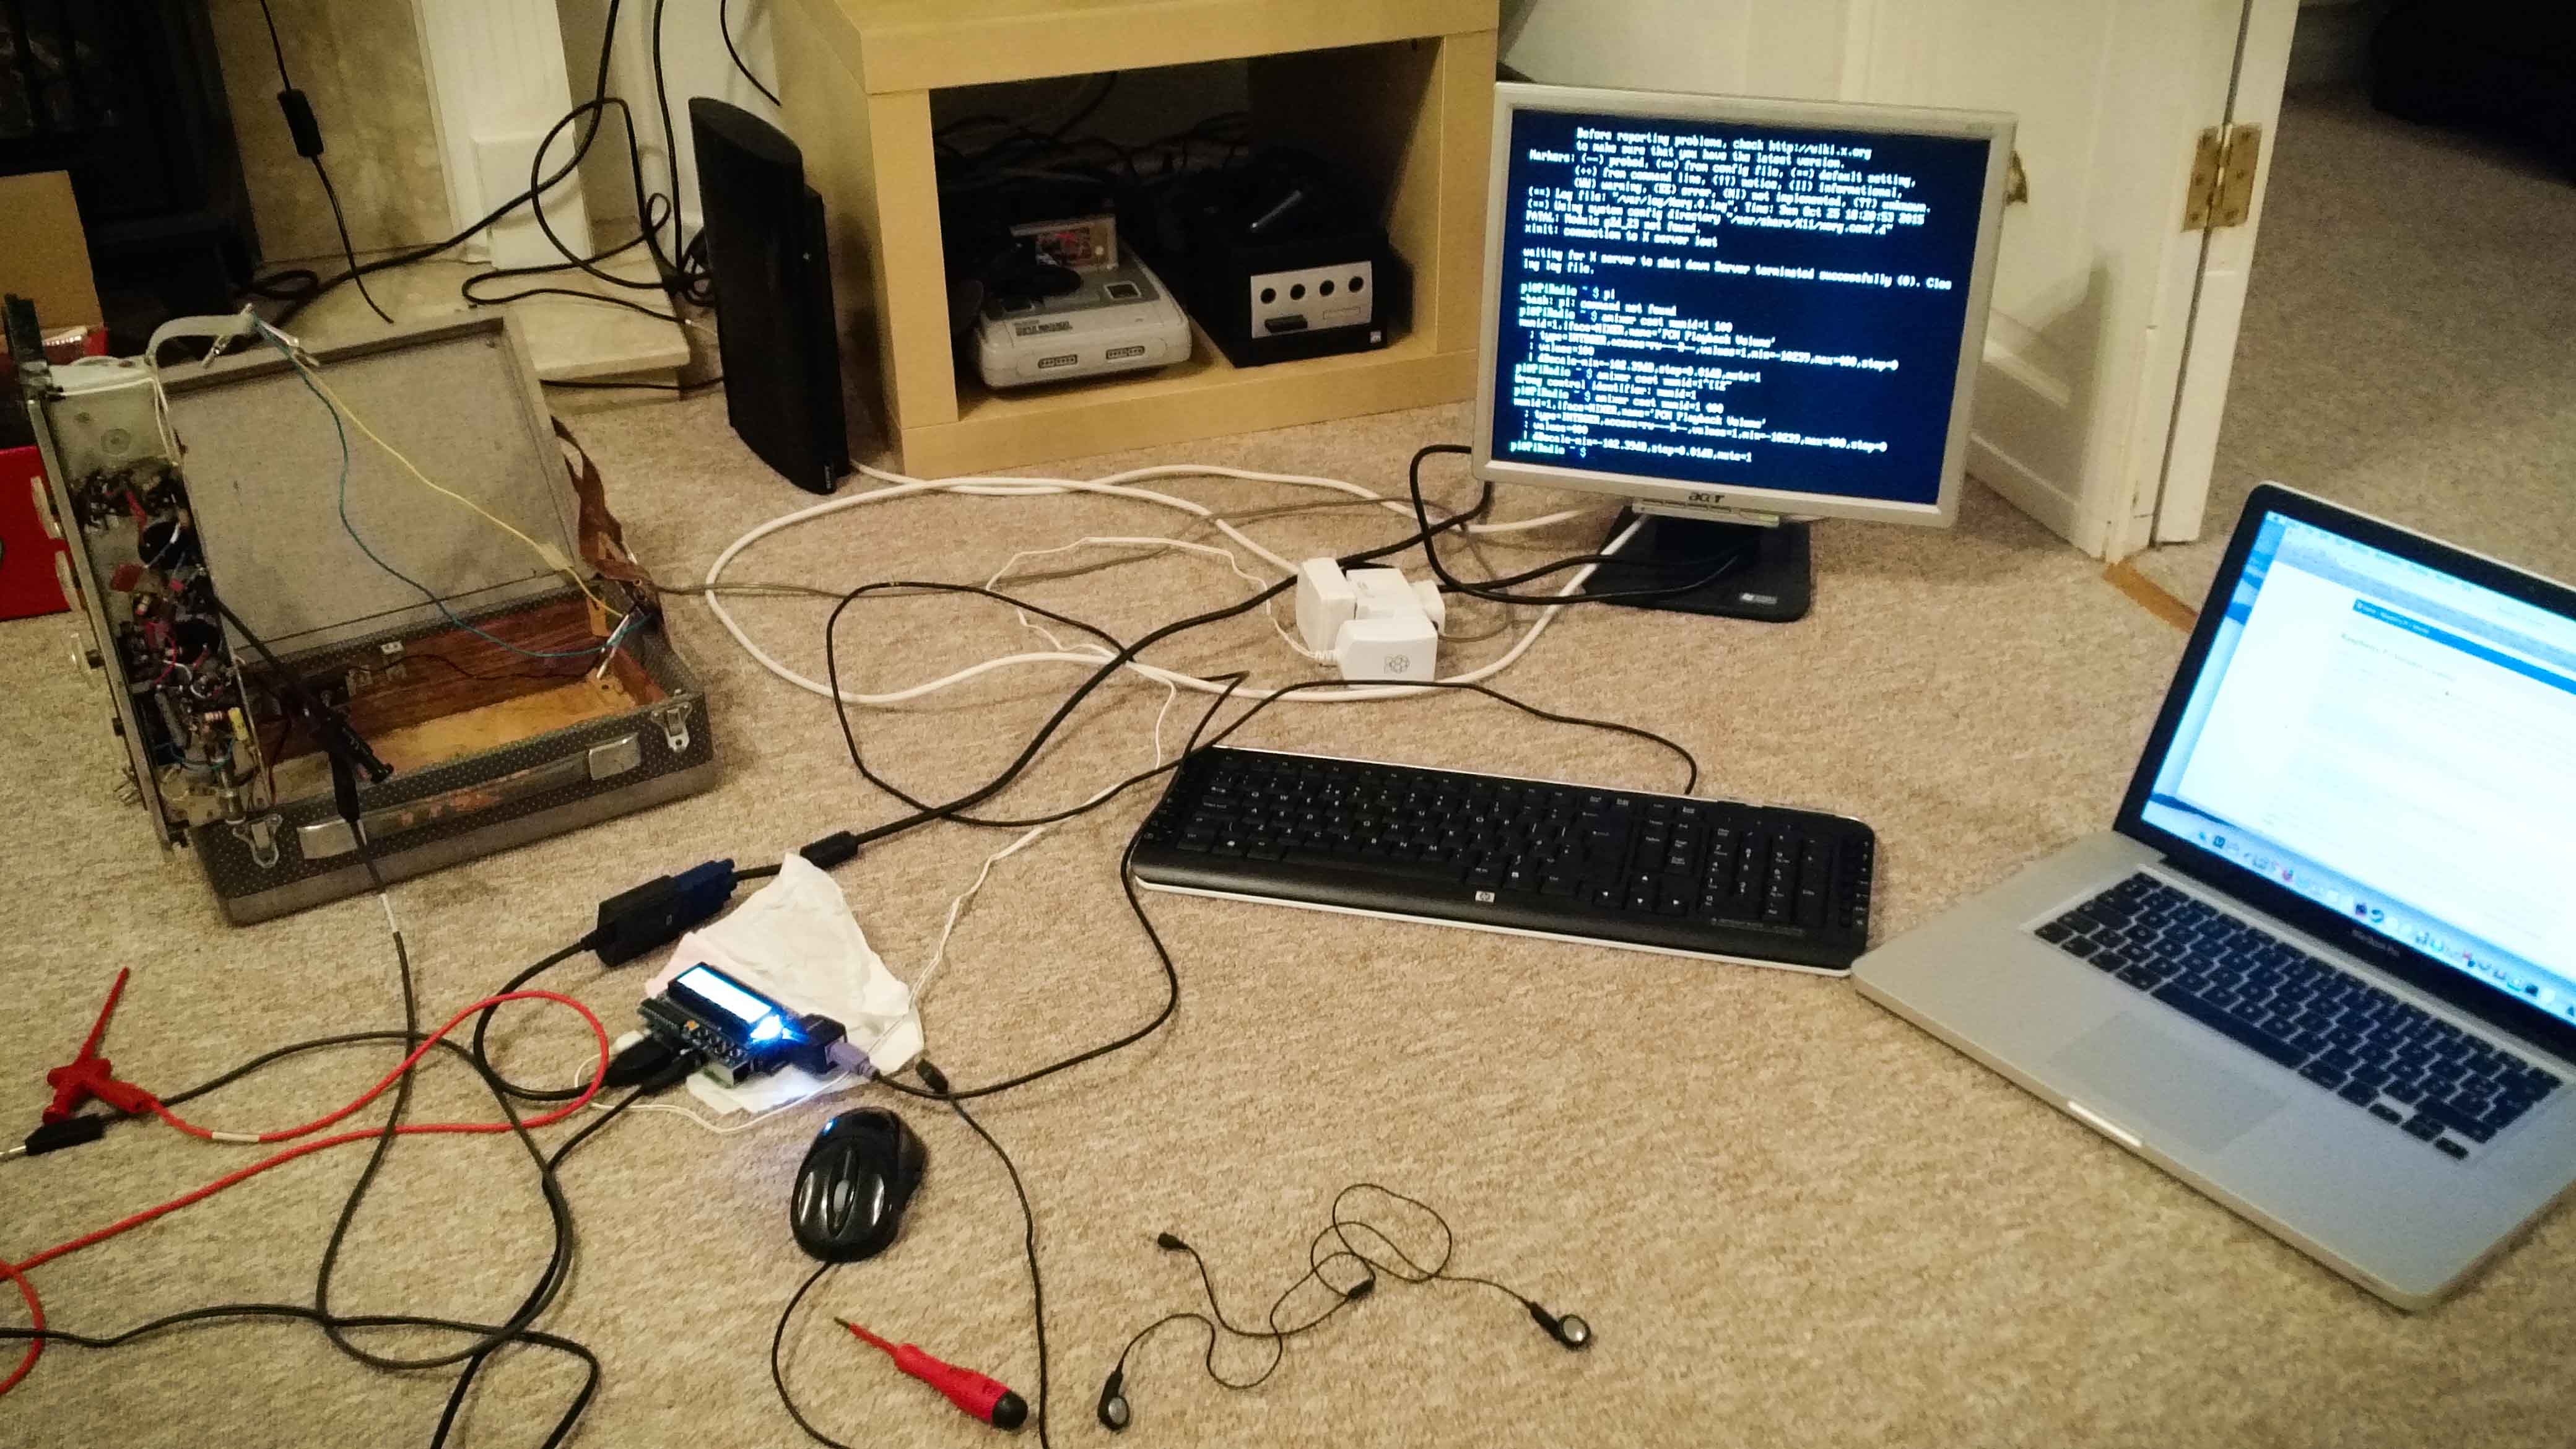
A Raspberry Pi is used with a WiFi connection to get internet radios. The script can be found on my github.
I modified an existing script to get BBC6 Music straight on when the radio is turned on.
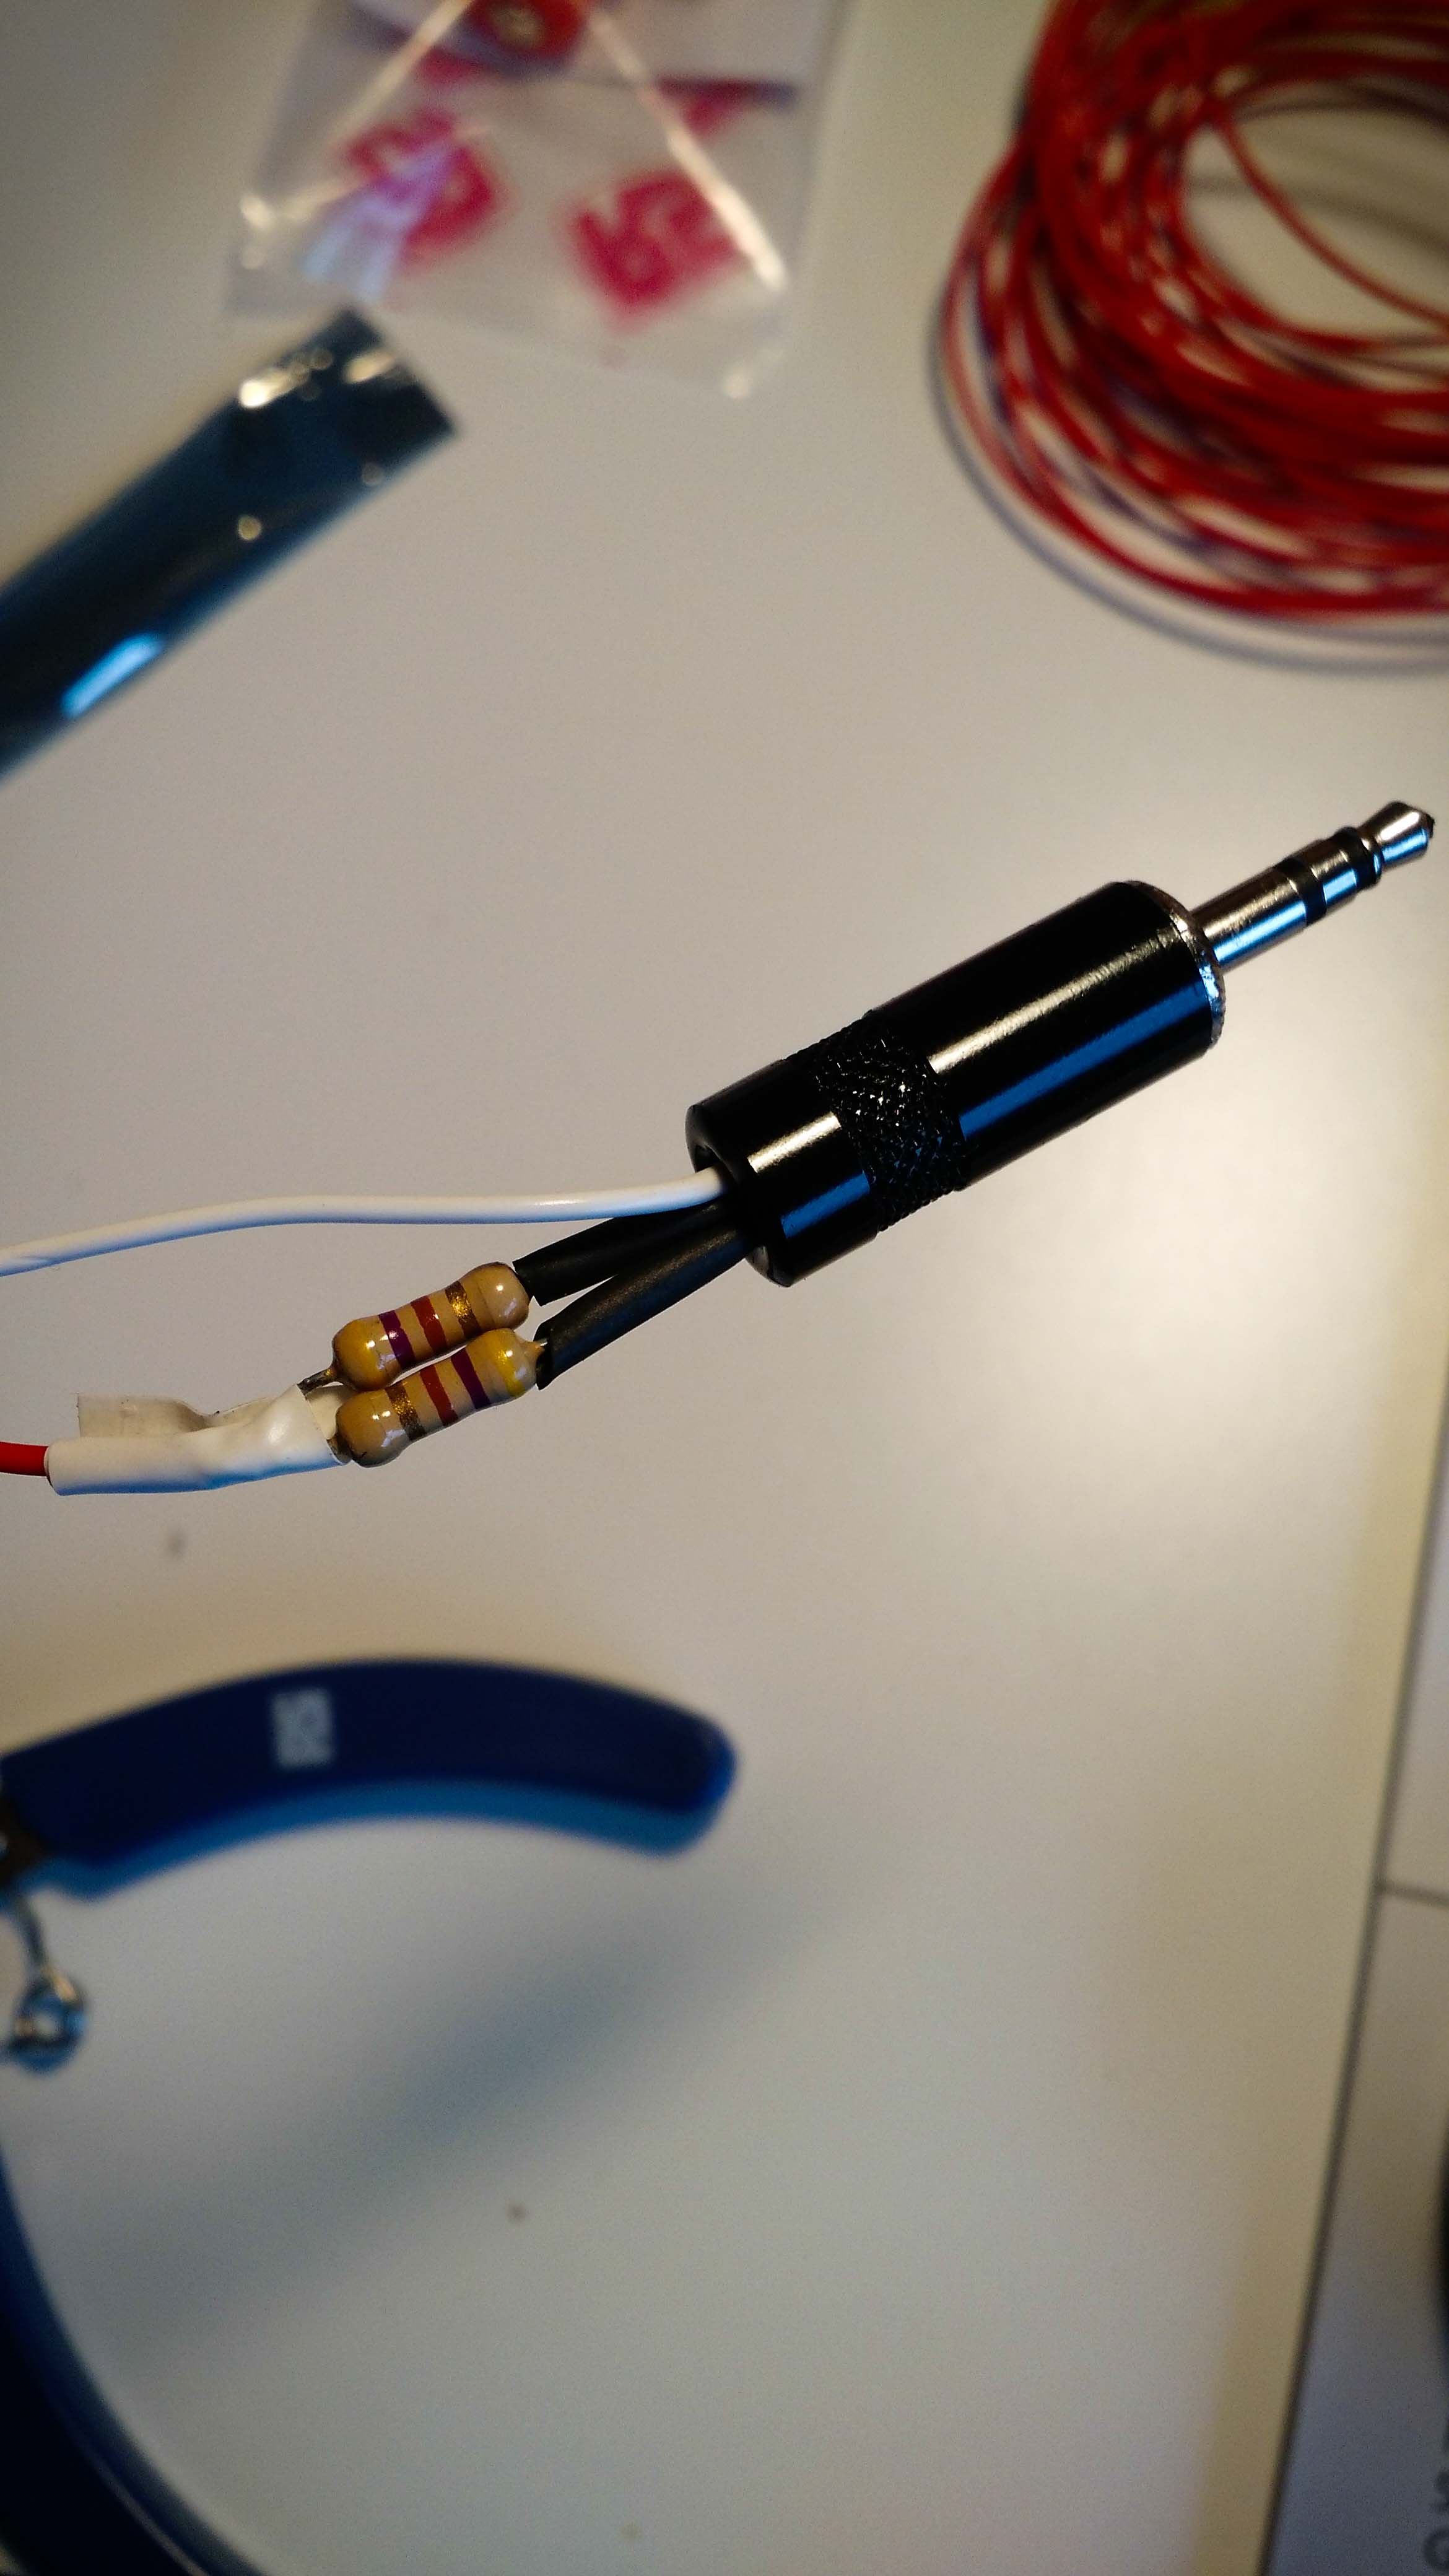
The signal output of the PI comes from the headphone jack. This signal is stereo and I want to convert it in Mono. Two 470 Ohms resistors and a bit of soldering and we got a mono signal.
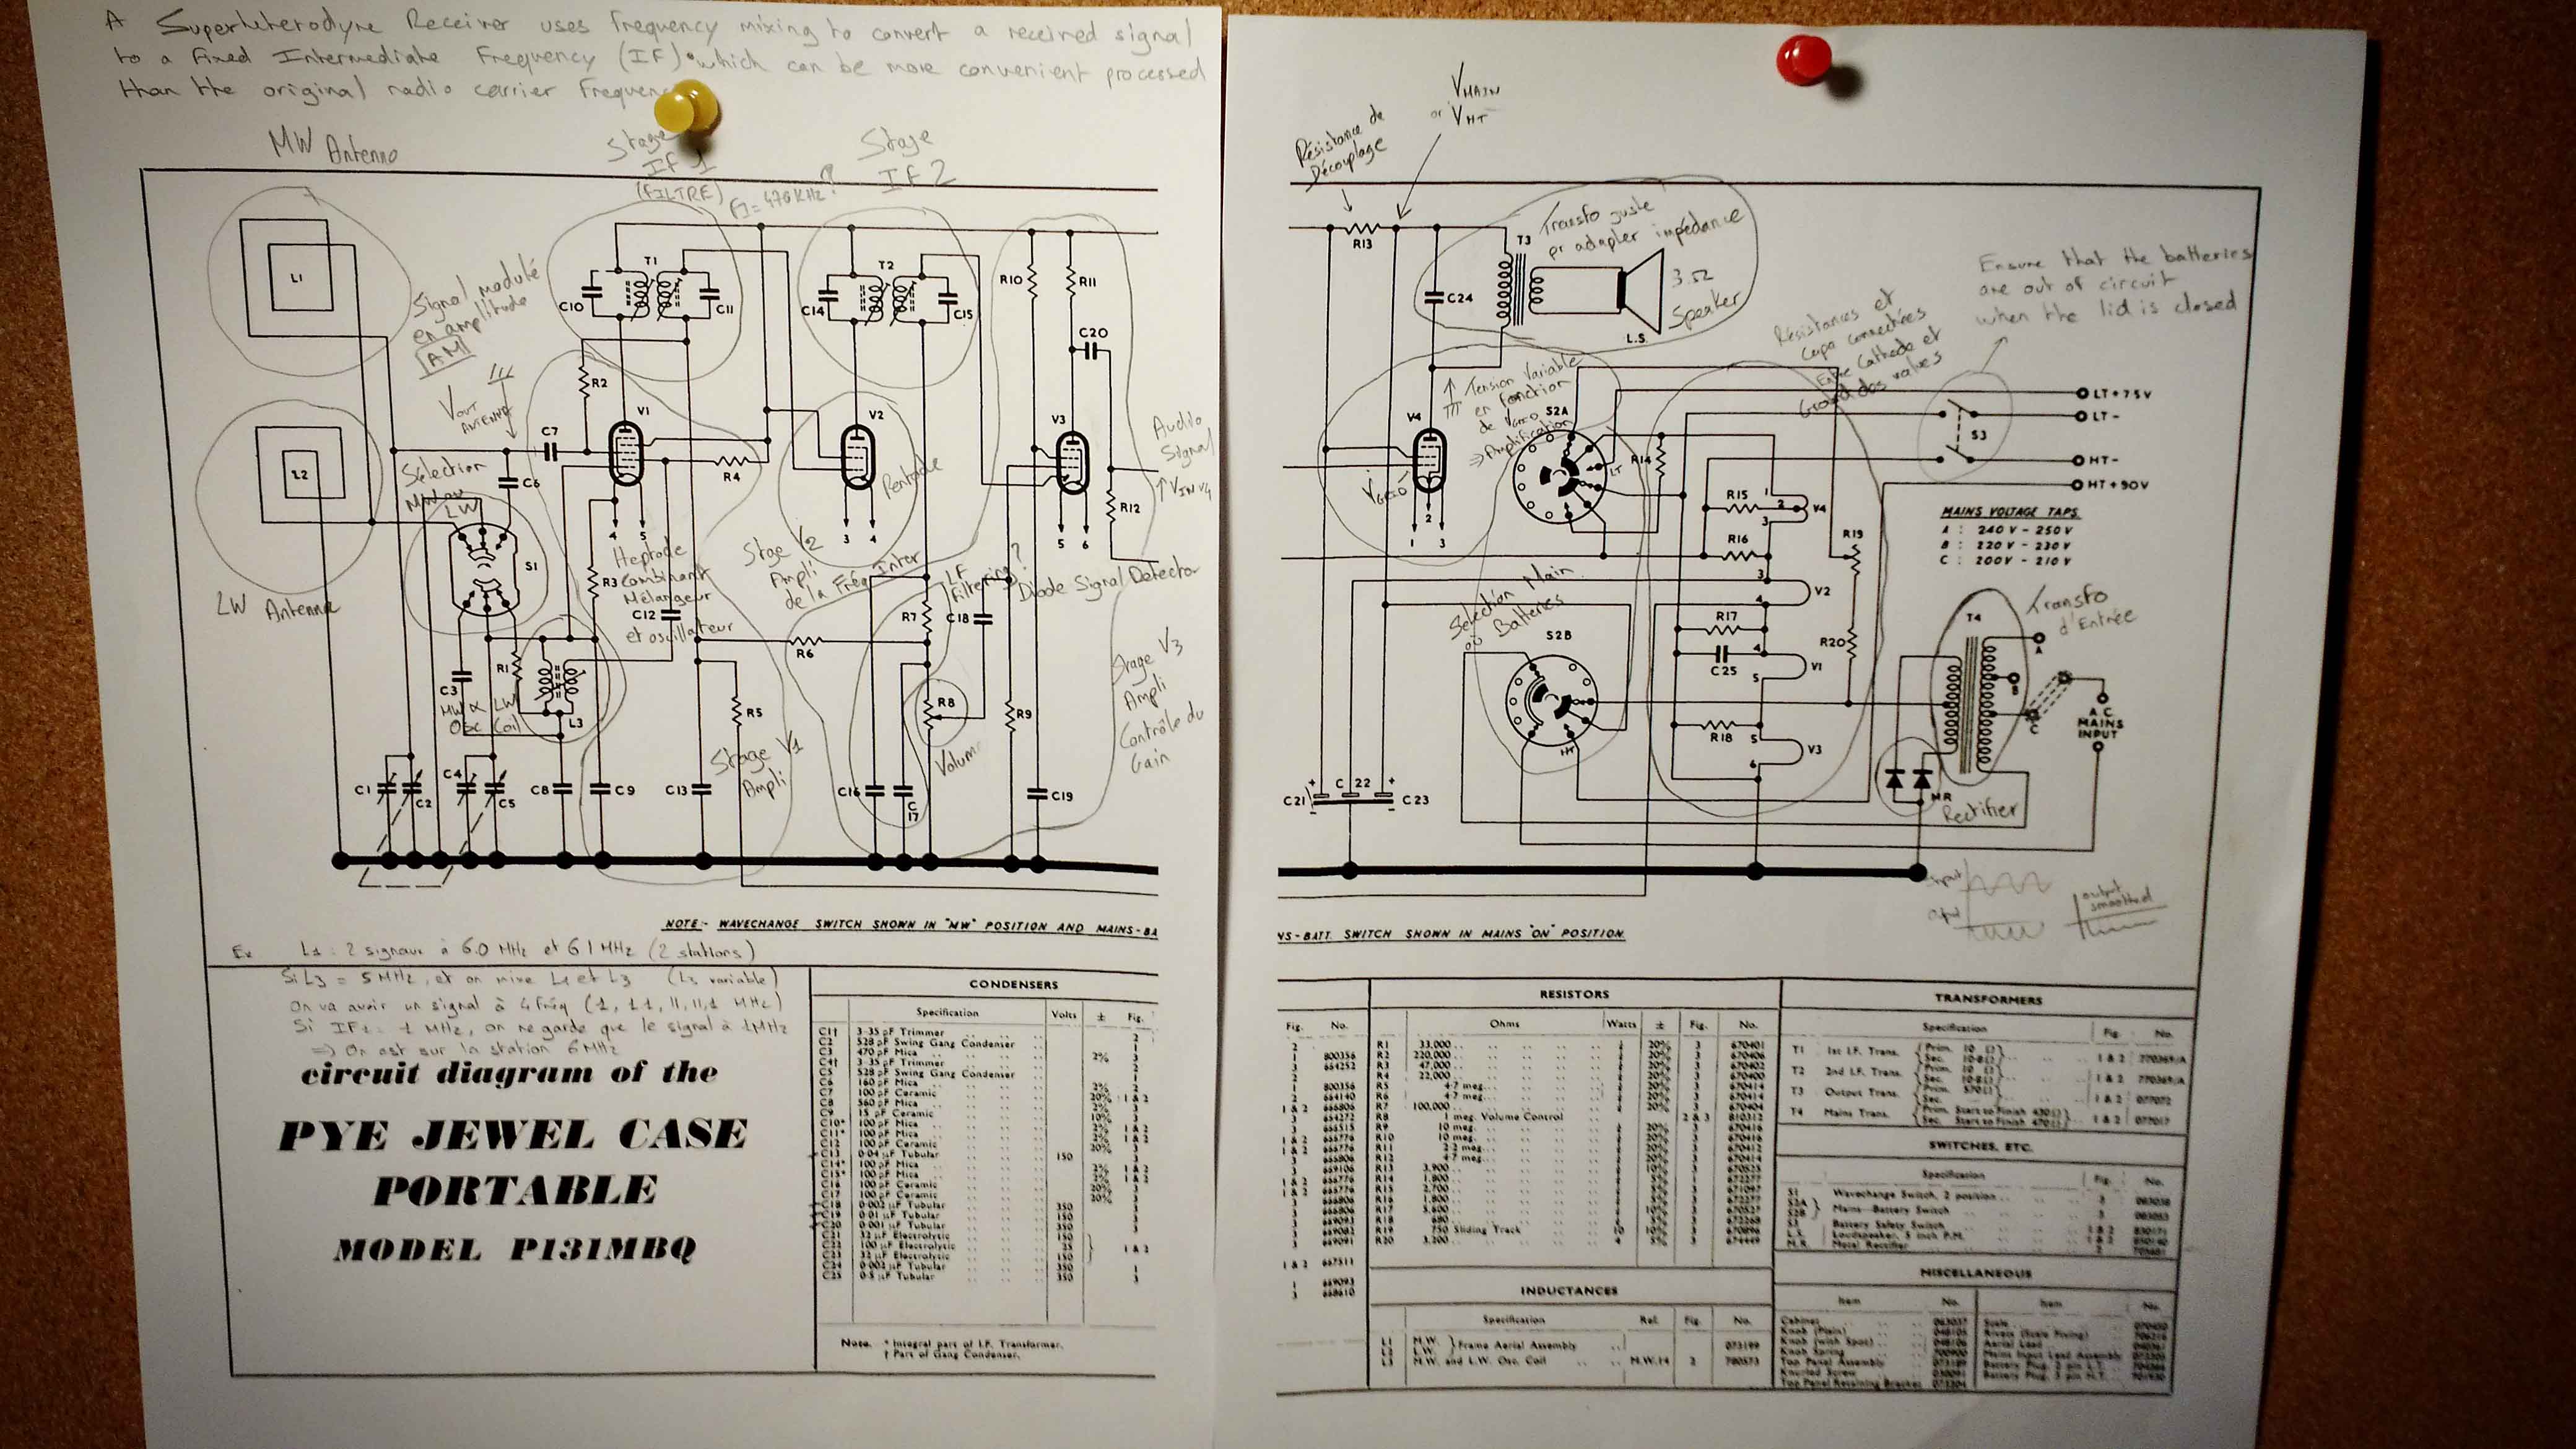
Now I need to find where to plug this lead into the valve radio. Hopefully, I found the Schematics. My choice went for between the two valves V3 and V4. So the signal is going straight to the last amplifier stage, then the speaker.

Wrap it up
I didn’t want to modify the radio case, so I attached the Raspberry PI inside the radio. Hopefully, there was still some room due to the fact I don’t use any portable battery.
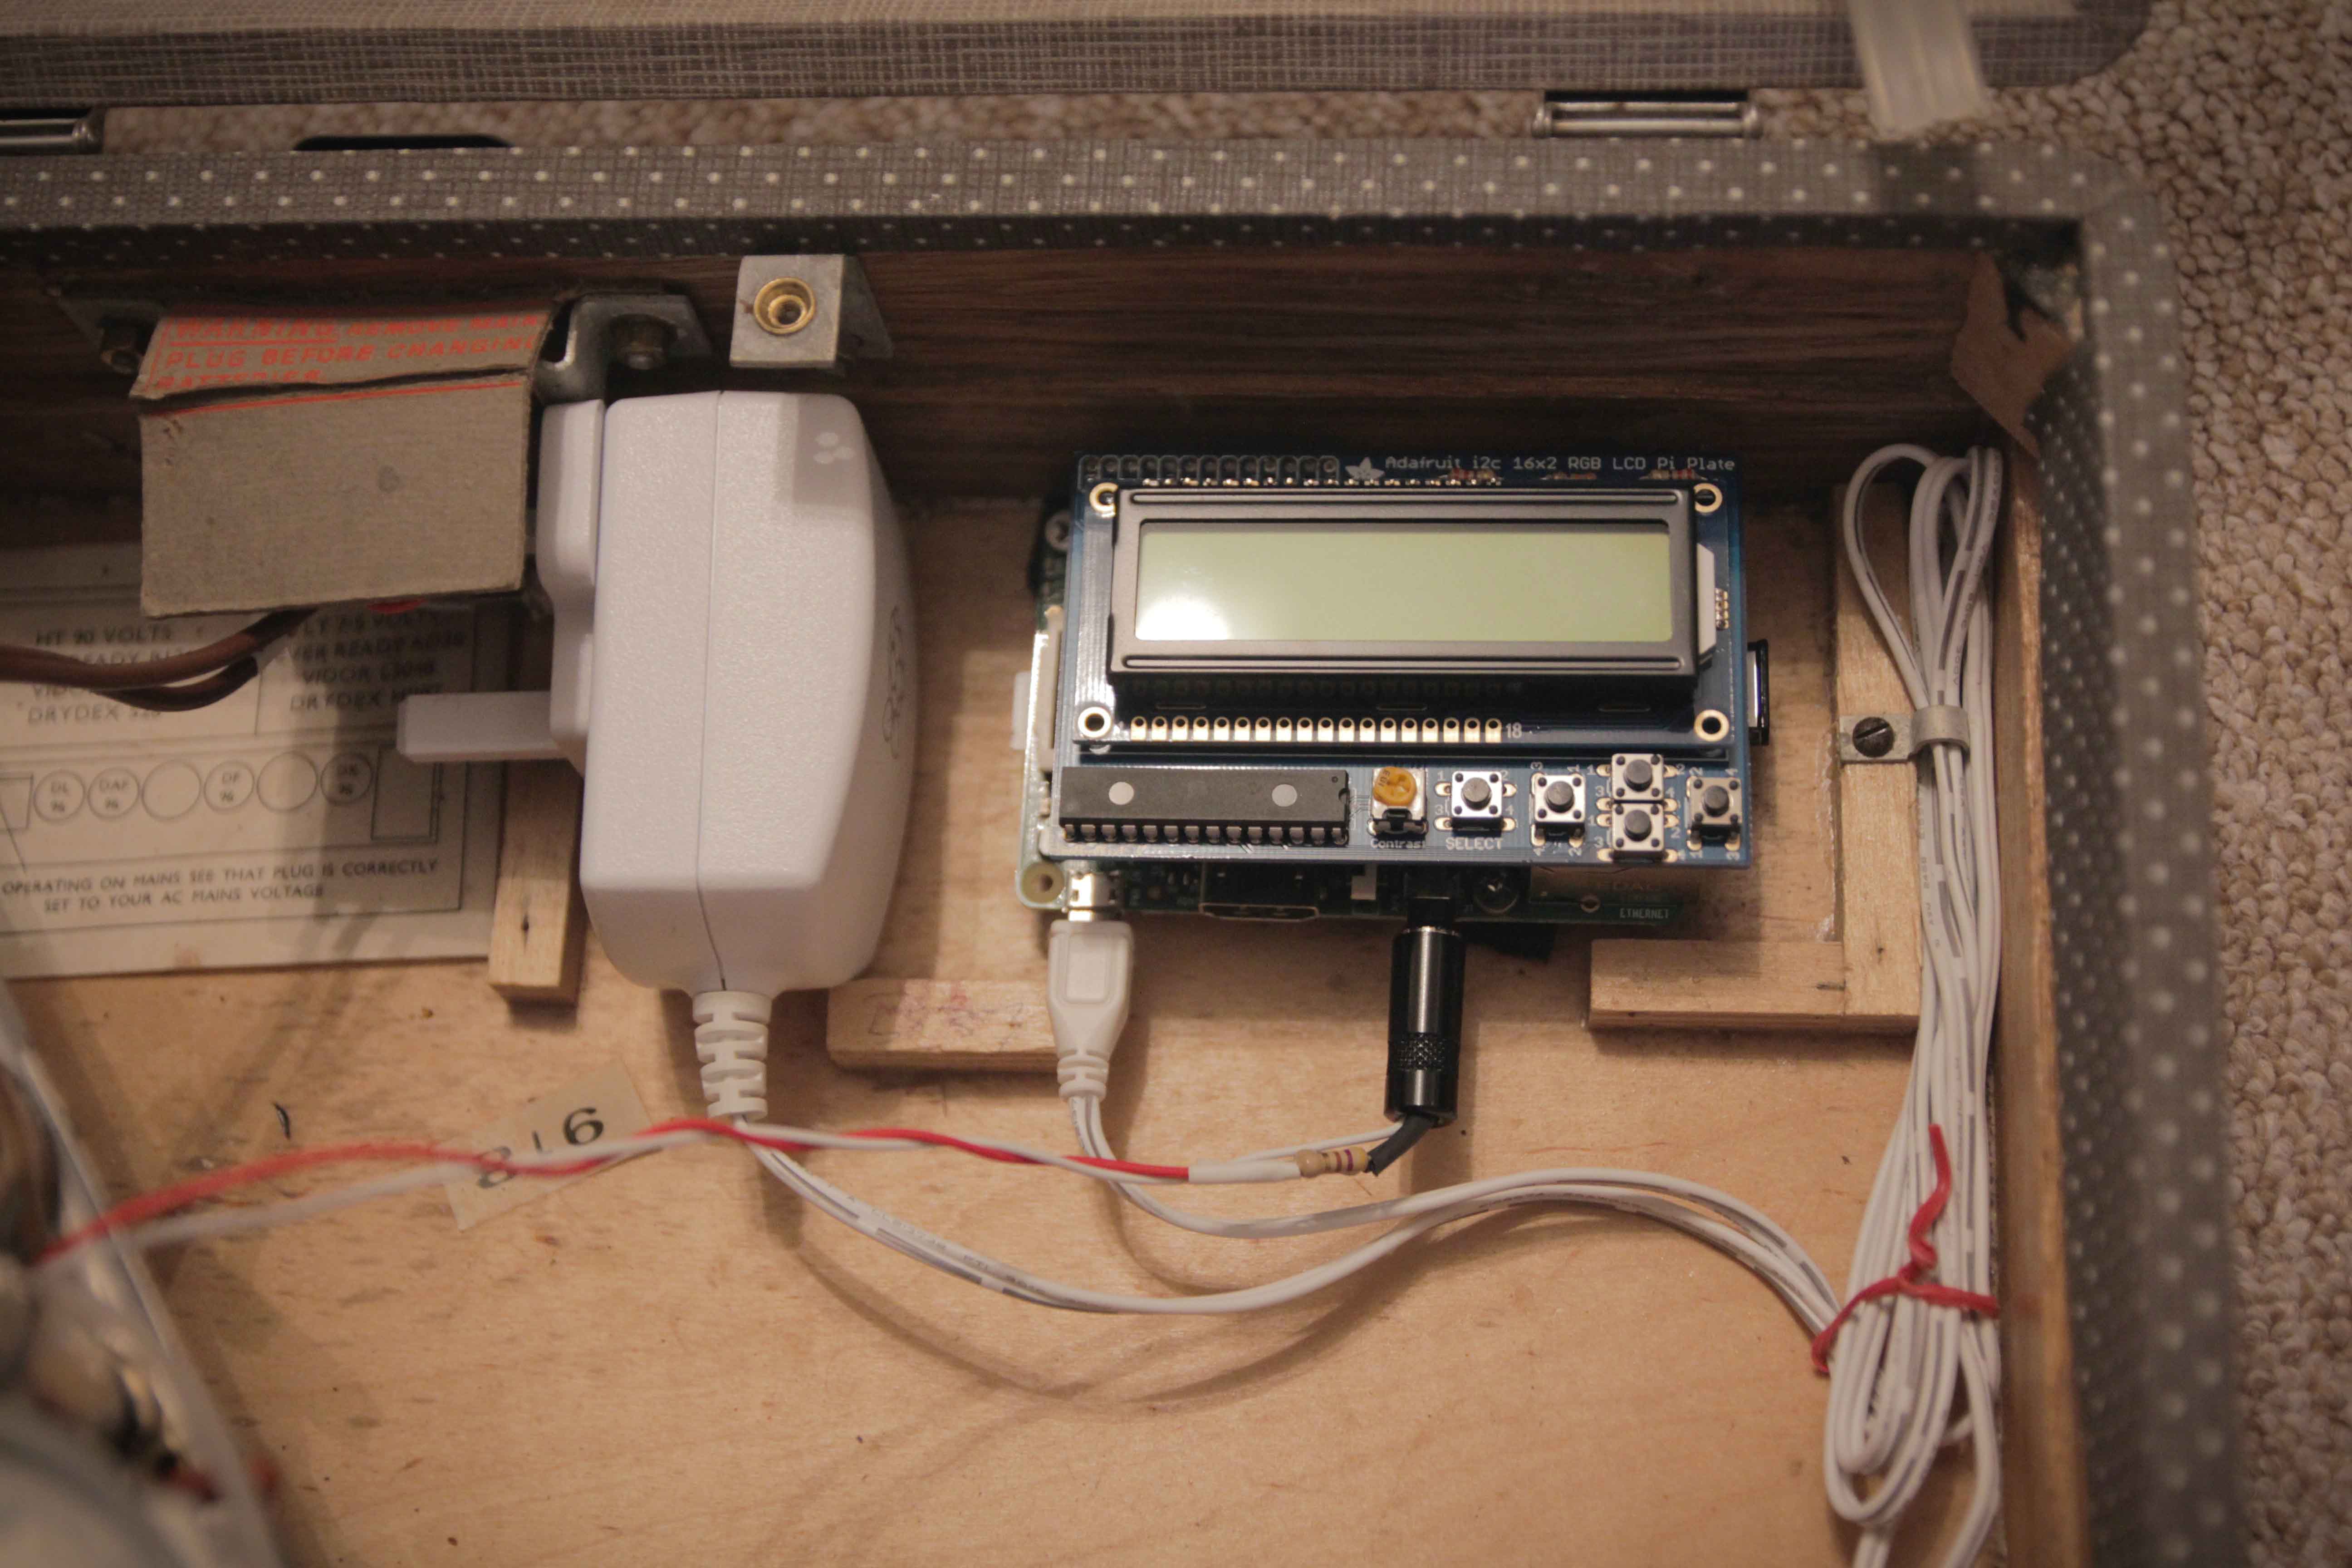
After final tests, everything works as expected! And as a bonus, the LCD on the Raspberry PI gives a nice blue light inside the radio. Ahead of his time for a 60 years old radio, isn’t it?